Apple cider is a cherished autumnal beverage that captures the essence of the season with its warm, spiced flavors. Making homemade apple cider is a rewarding experience that allows you to tailor the taste to your preference while using fresh ingredients. Whether you prefer the slow simmer of a crockpot or the quick efficiency of an Instant Pot, crafting your own cider is easier than you might think. This guide will walk you through the essential steps, from choosing the right apples to enhancing flavors, ensuring your homemade cider is perfect for any occasion.
Essential Equipment for Making Apple Cider
Before diving into the cider-making process, it’s crucial to gather the right tools to ensure a smooth experience. Here’s an equipment list to get you started:
Apple press or juicer
Large pot or slow cooker
Instant Pot (optional for a quicker method)
Sieve or cheesecloth for straining
Mason jars or bottles for storage
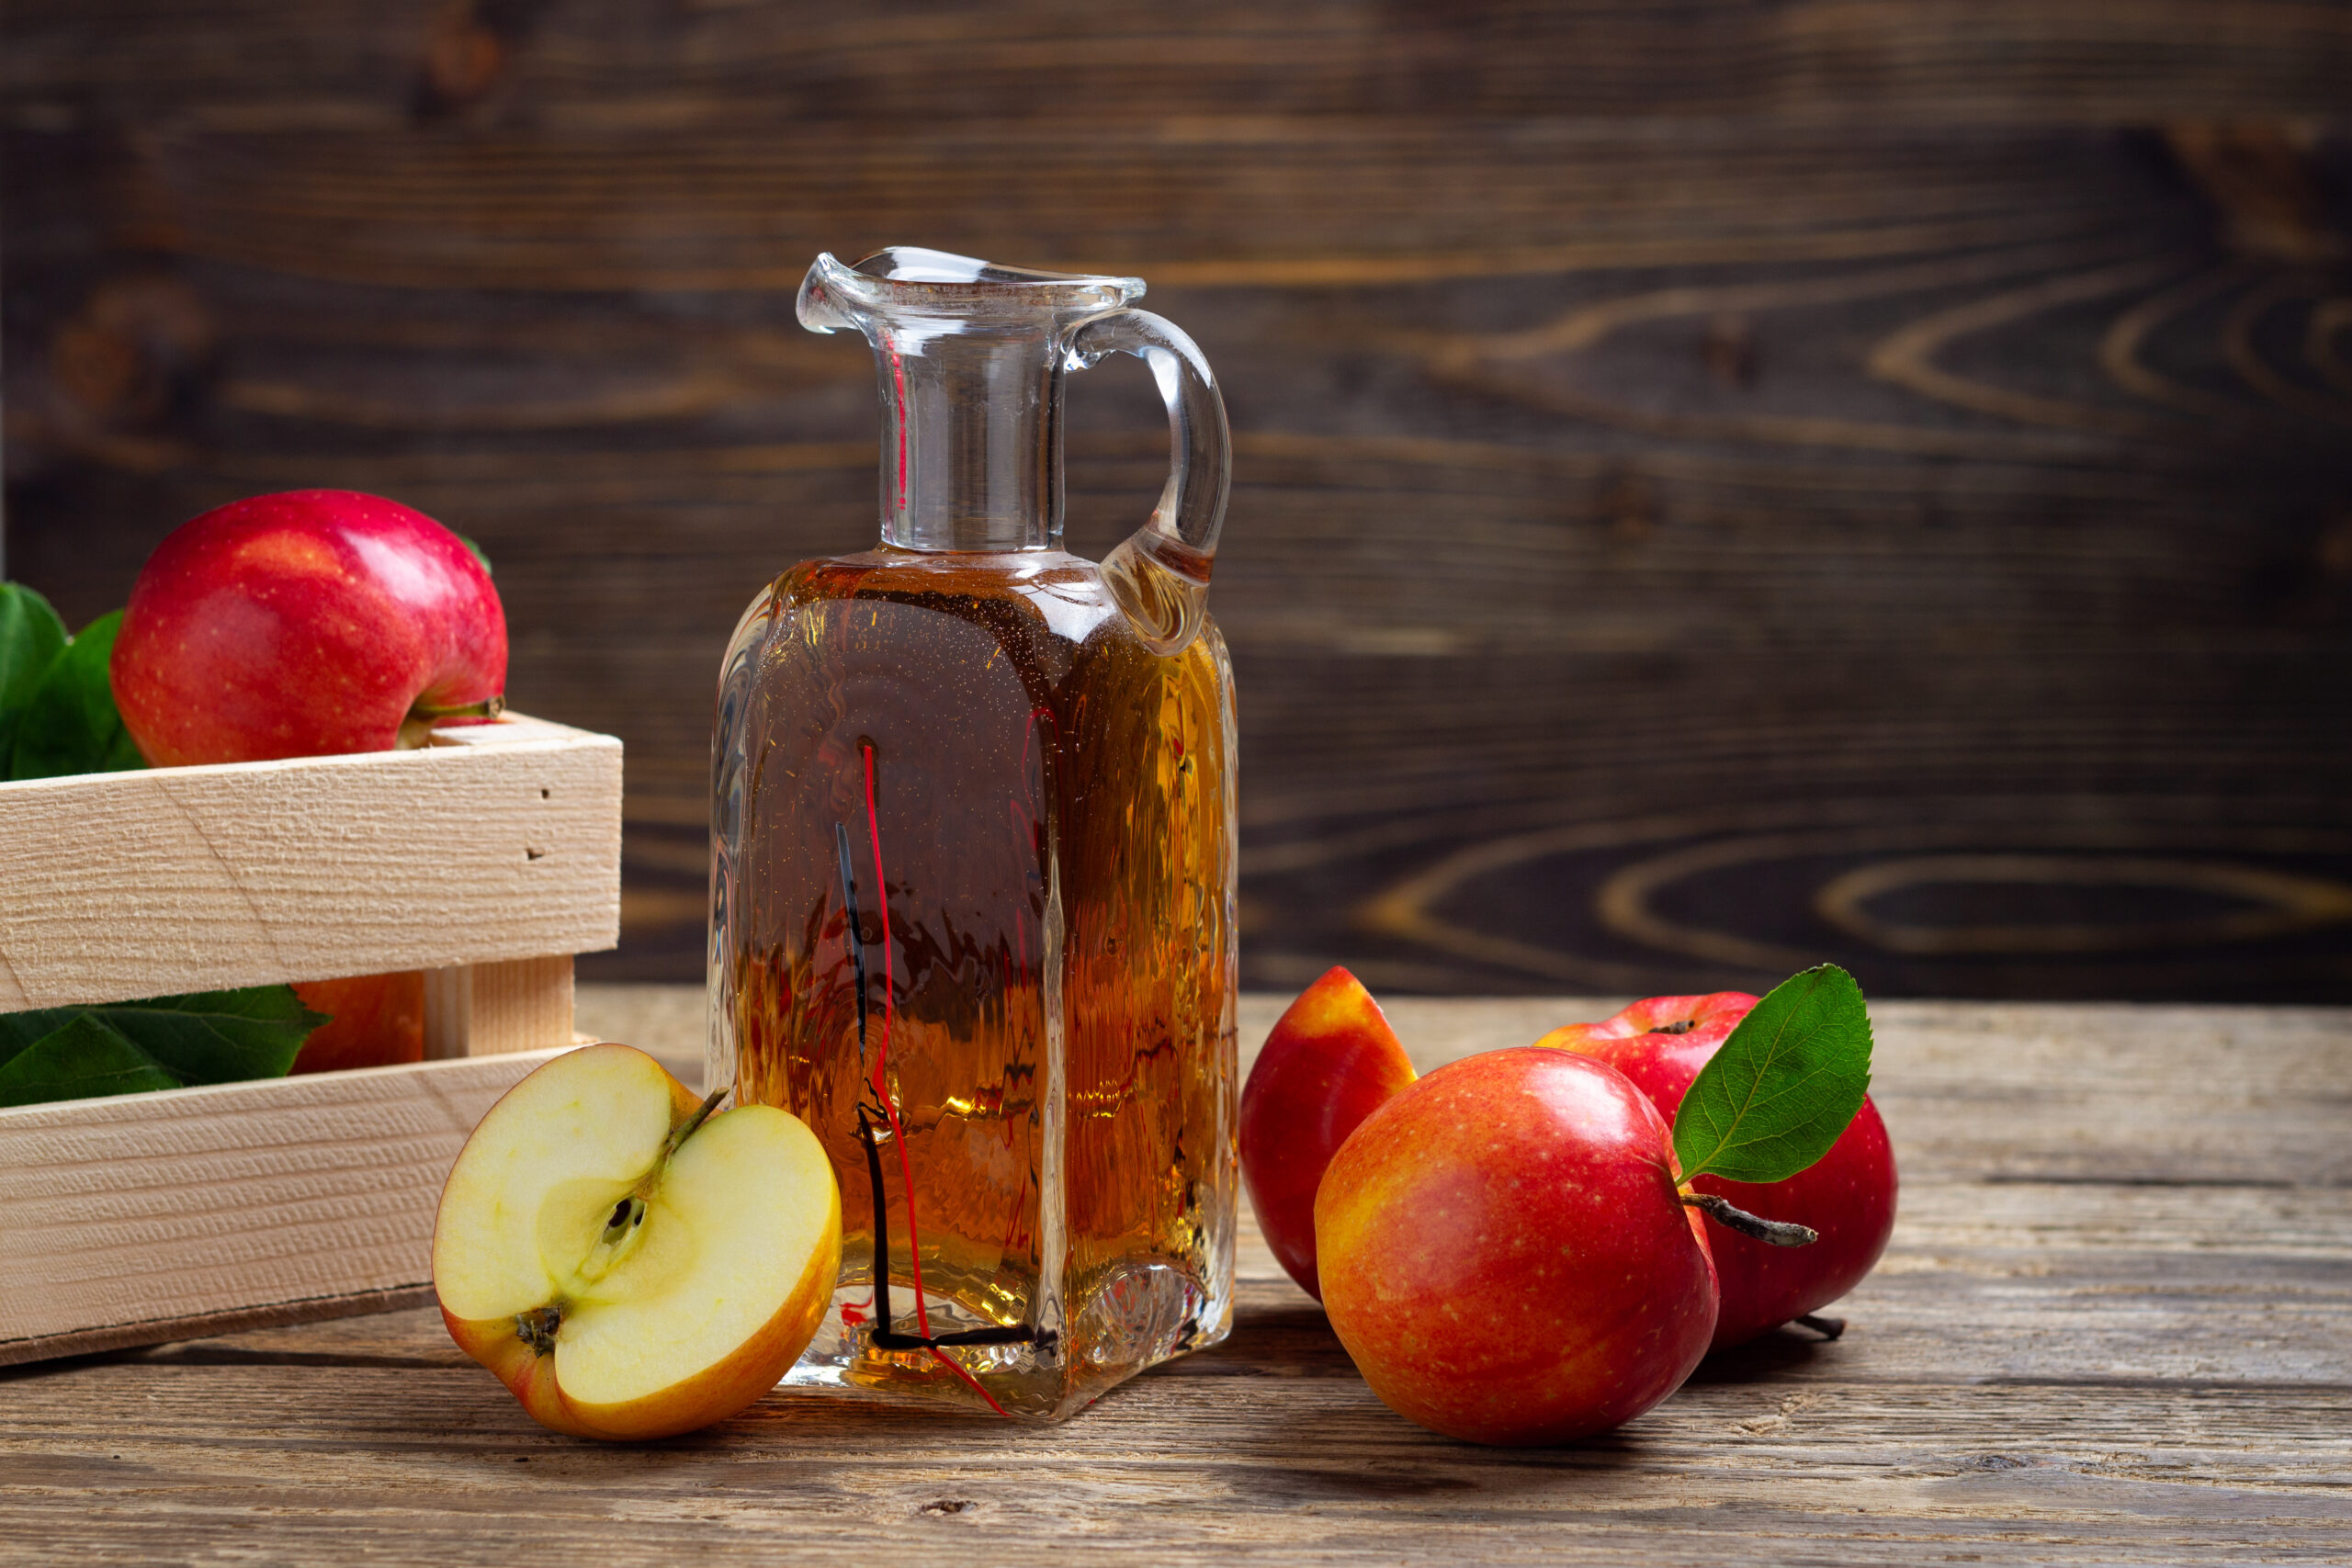
Choosing the Best Apples for Homemade Cider
The quality and flavor of your apple cider heavily depend on the type of apples you select. A mix of sweet, tart, and aromatic apples usually yields the best results. Consider using these varieties:
Sweet Apples: Fuji, Gala, or Red Delicious
Tart Apples: Granny Smith, Cortland, or McIntosh
Aromatic Apples: Golden Delicious or Jonagold
Combining different types of apples will give your cider a more complex flavor profile.
Step-by-Step Guide to Making Apple Cider
Follow these steps to make a classic homemade apple cider:
Preparation
Wash and core 10-12 apples, leaving the skins on for added flavor.
Cut apples into quarters to make them easier to process.
Cooking
Place the apple pieces in a large pot or slow cooker.
Add enough water to cover the apples by about two inches.
Include spices like cinnamon sticks, cloves, and allspice for flavor.
Simmer on low heat for 6-8 hours, or until the apples are very soft.
Straining
Once cooked, let the mixture cool slightly.
Use a sieve or cheesecloth to strain the solids from the liquid, pressing gently to extract as much juice as possible.
Sweetening
Taste the cider and add sugar or honey to your preference.
Simmer for an additional 30 minutes to dissolve the sweetener.
Slow Cooker Apple Cider Recipe
A slow cooker is ideal for making apple cider, as it allows the flavors to develop gradually. Here’s a simple recipe:
10-12 apples, cored and quartered
1 orange, sliced
4 cinnamon sticks
1 tablespoon whole cloves
1 tablespoon allspice berries
1/2 cup brown sugar
Place all ingredients in the slow cooker, cover with water, and cook on low for 8-10 hours. Strain and serve warm.
Instant Pot Apple Cider: A Quick Method
For those who need a faster option, the Instant Pot is an excellent choice. Here’s how to make cider using this method:
10-12 apples, cored and quartered
4 cinnamon sticks
1 tablespoon whole cloves
1/2 cup brown sugar
Add all ingredients to the Instant Pot, cover with water, and cook on high pressure for 15 minutes. Allow natural release, then strain and enjoy.
Flavor Enhancements: Adding Cinnamon Sticks and More
Enhancing the flavor of your apple cider is easy with a few additional ingredients:
Cinnamon Sticks: Add warmth and spice.
Vanilla Beans: Introduce a creamy, aromatic note.
Ginger: Provides a zesty kick.
Nutmeg: Adds a subtle earthy flavor.
Experiment with these to find your perfect blend.
Common Mistakes in Apple Cider Making
Even experienced cider makers can encounter issues. Here are some common mistakes and how to avoid them:
Overcooking: This can lead to a bitter taste. Monitor your cooking time carefully.
Insufficient Straining: Leaving too much pulp can make the cider cloudy. Use a fine sieve or cheesecloth.
Excessive Sweetening: Start with less sugar, as you can always add more to taste.
Troubleshooting Your Homemade Apple Cider
If your cider isn’t quite right, consider these troubleshooting tips:
Too Tart: Add a bit more sugar or honey to balance the acidity.
Lacking Flavor: Increase the amount of spices or try a different apple variety.
Too Sweet: Dilute with a bit of water or add a few more tart apples.
Storage Tips for Your Apple Cider
Proper storage is essential to maintain the quality of your cider:
Refrigerate your cider in airtight containers for up to two weeks.
For longer storage, freeze the cider in freezer-safe containers, leaving space for expansion.
Thaw frozen cider in the refrigerator before reheating or serving.
Variations: Spiced Cider Recipes to Try
Once you’ve mastered the basics, try these variations for a unique twist:
Caramel Apple Cider: Add caramel sauce for a rich, sweet flavor.
Spicy Cider: Incorporate chili peppers for a bold, spicy kick.
Mulled Cider: Infuse with red wine and additional spices for a festive drink.
Using Leftover Pulp: Creative Ideas
Don’t throw away the leftover apple pulp! Here are some creative uses:
Apple Sauce: Blend the pulp with a bit of sugar and cinnamon.
Baked Goods: Incorporate into muffins or bread for added moisture and flavor.
Compost: Add to your compost pile for a nutrient-rich addition.
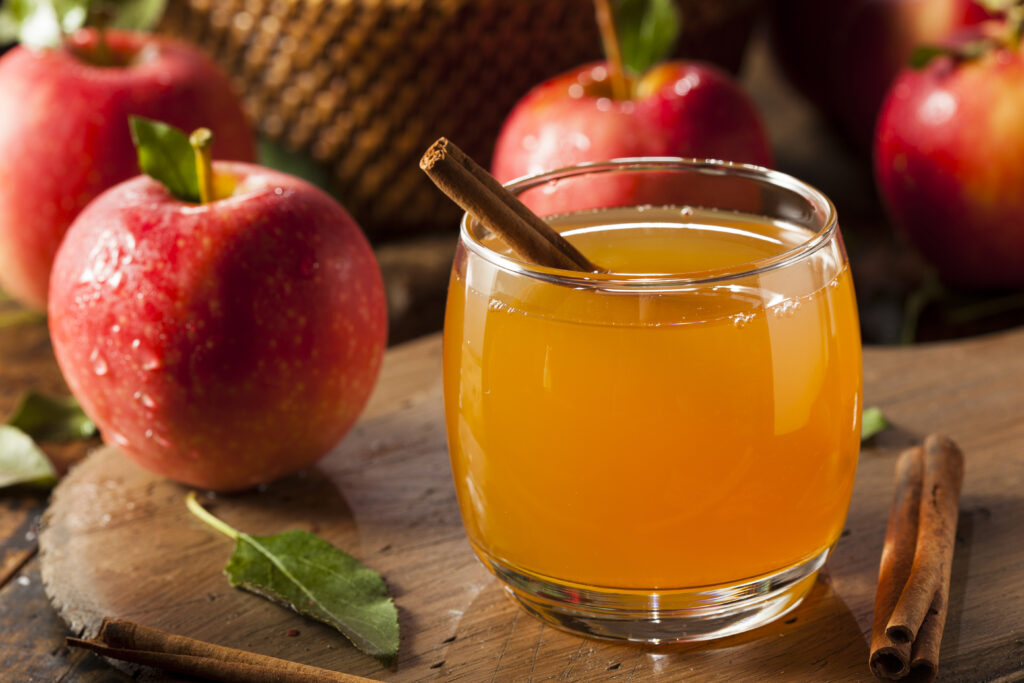
Serving Suggestions: When and How to Enjoy Apple Cider
Apple cider is versatile and can be enjoyed in various ways:
Serve warm in mugs, garnished with a cinnamon stick.
Chill and serve over ice for a refreshing drink.
Use as a base for cocktails or punch at gatherings.
Nutritional Benefits of Homemade Apple Cider
Homemade apple cider is not only delicious but also offers several health benefits:
Rich in antioxidants from fresh apples.
Contains vitamins C and A, promoting immune health.
Low in calories when unsweetened, making it a guilt-free treat.
Enjoy your homemade apple cider knowing it’s a nutritious choice.