
- LIFE
55 Cute Nicknames to Call Your Girlfriend

Dyeing Easter eggs is one of those simple traditions that never really gets old. A few cups of color on the table, a carton of eggs, and suddenly the whole kitchen feels like spring. It does not matter if you want soft pastel eggs, bold bright colors, or a few messy, kid-friendly designs. The fun is in making them your own.
The good news is that dyeing Easter eggs is easy, inexpensive, and a lot more creative than people think. You can keep it classic with food coloring and vinegar, or branch out with fun tricks that give your eggs swirls, speckles, patterns, and texture. If all you want is a simple, no-stress method that actually works, start here.
Before you start, gather everything in one place so the process feels fun instead of chaotic.
You will need:
White eggs usually show color more vividly, but brown eggs can look beautiful too. The shades just come out deeper and a little moodier.
If your eggs are not already boiled, start there.
Place the eggs in a pot and cover them with water. Bring the water to a boil, then turn off the heat, cover the pot, and let the eggs sit for about 10 to 12 minutes. After that, transfer them to cold water so they stop cooking and cool down faster.
Make sure the shells are dry before dyeing. Wet eggs can cause the color to streak before you are ready.
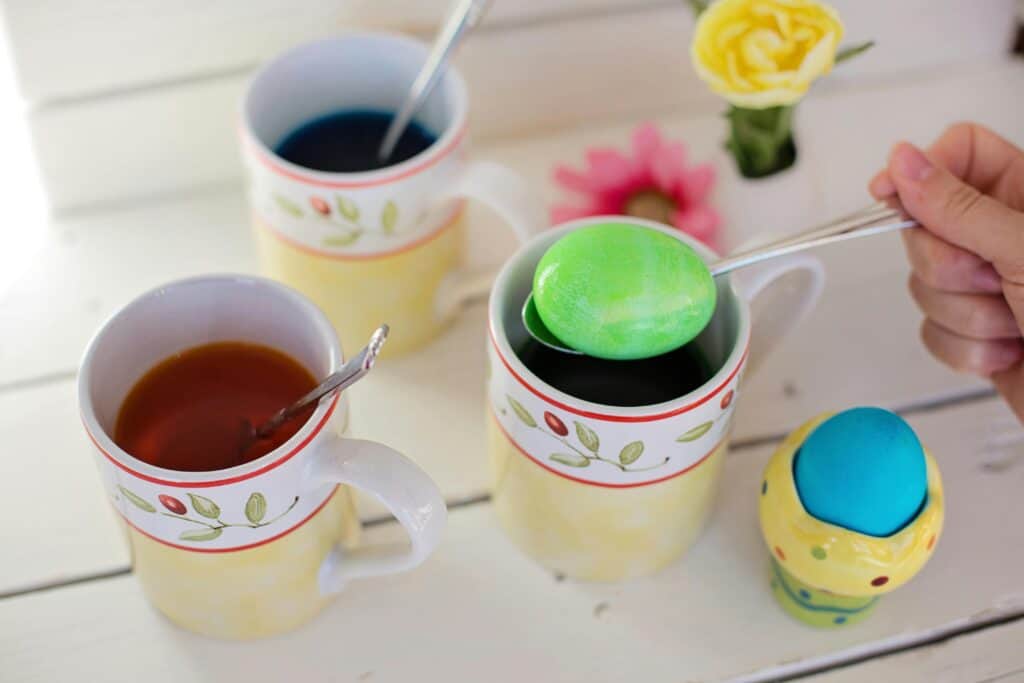
This is the easiest method and still the one most people come back to every year.
For each color, fill a cup with about 1/2 cup hot water, 1 teaspoon vinegar, and 10 to 20 drops of food coloring. Stir gently.
Lower one egg into the cup and let it sit for a few minutes. The longer it stays in, the deeper the color becomes. For soft pastel shades, pull it out sooner. For brighter or darker eggs, leave it in longer.
Lift the egg out carefully with a spoon and place it on paper towels or a rack to dry.
Repeat with as many colors as you like.
A few small things make a big difference.

Once you know the basic method, it gets a lot more fun. The reference article points to a bunch of creative decorating ideas, and these are some of the easiest to try at home.
Dip only half the egg in one color and let it dry. Then dip the other half in another color. This creates a fun color-blocked look that feels a little more modern than plain solid eggs.
Place small stickers on the shell before dyeing. After the egg dries, peel the stickers off. You will be left with little white shapes underneath, which looks especially cute with stars, dots, or letters.
Draw on the eggs with a white crayon before dipping them in dye. The wax resists the color, so your drawings stay visible. This is great for kids because it feels easy and a little magical.
Put some uncooked rice in a container or zip bag, add a few drops of food coloring, then toss in the egg and shake gently. This gives the shell a cool speckled finish instead of one flat shade.
Spread shaving cream in a tray, add drops of food coloring, and swirl lightly with a toothpick. Roll the eggs through the mixture, let them sit briefly, then wipe them clean. The result is soft, marbled, and very pretty.
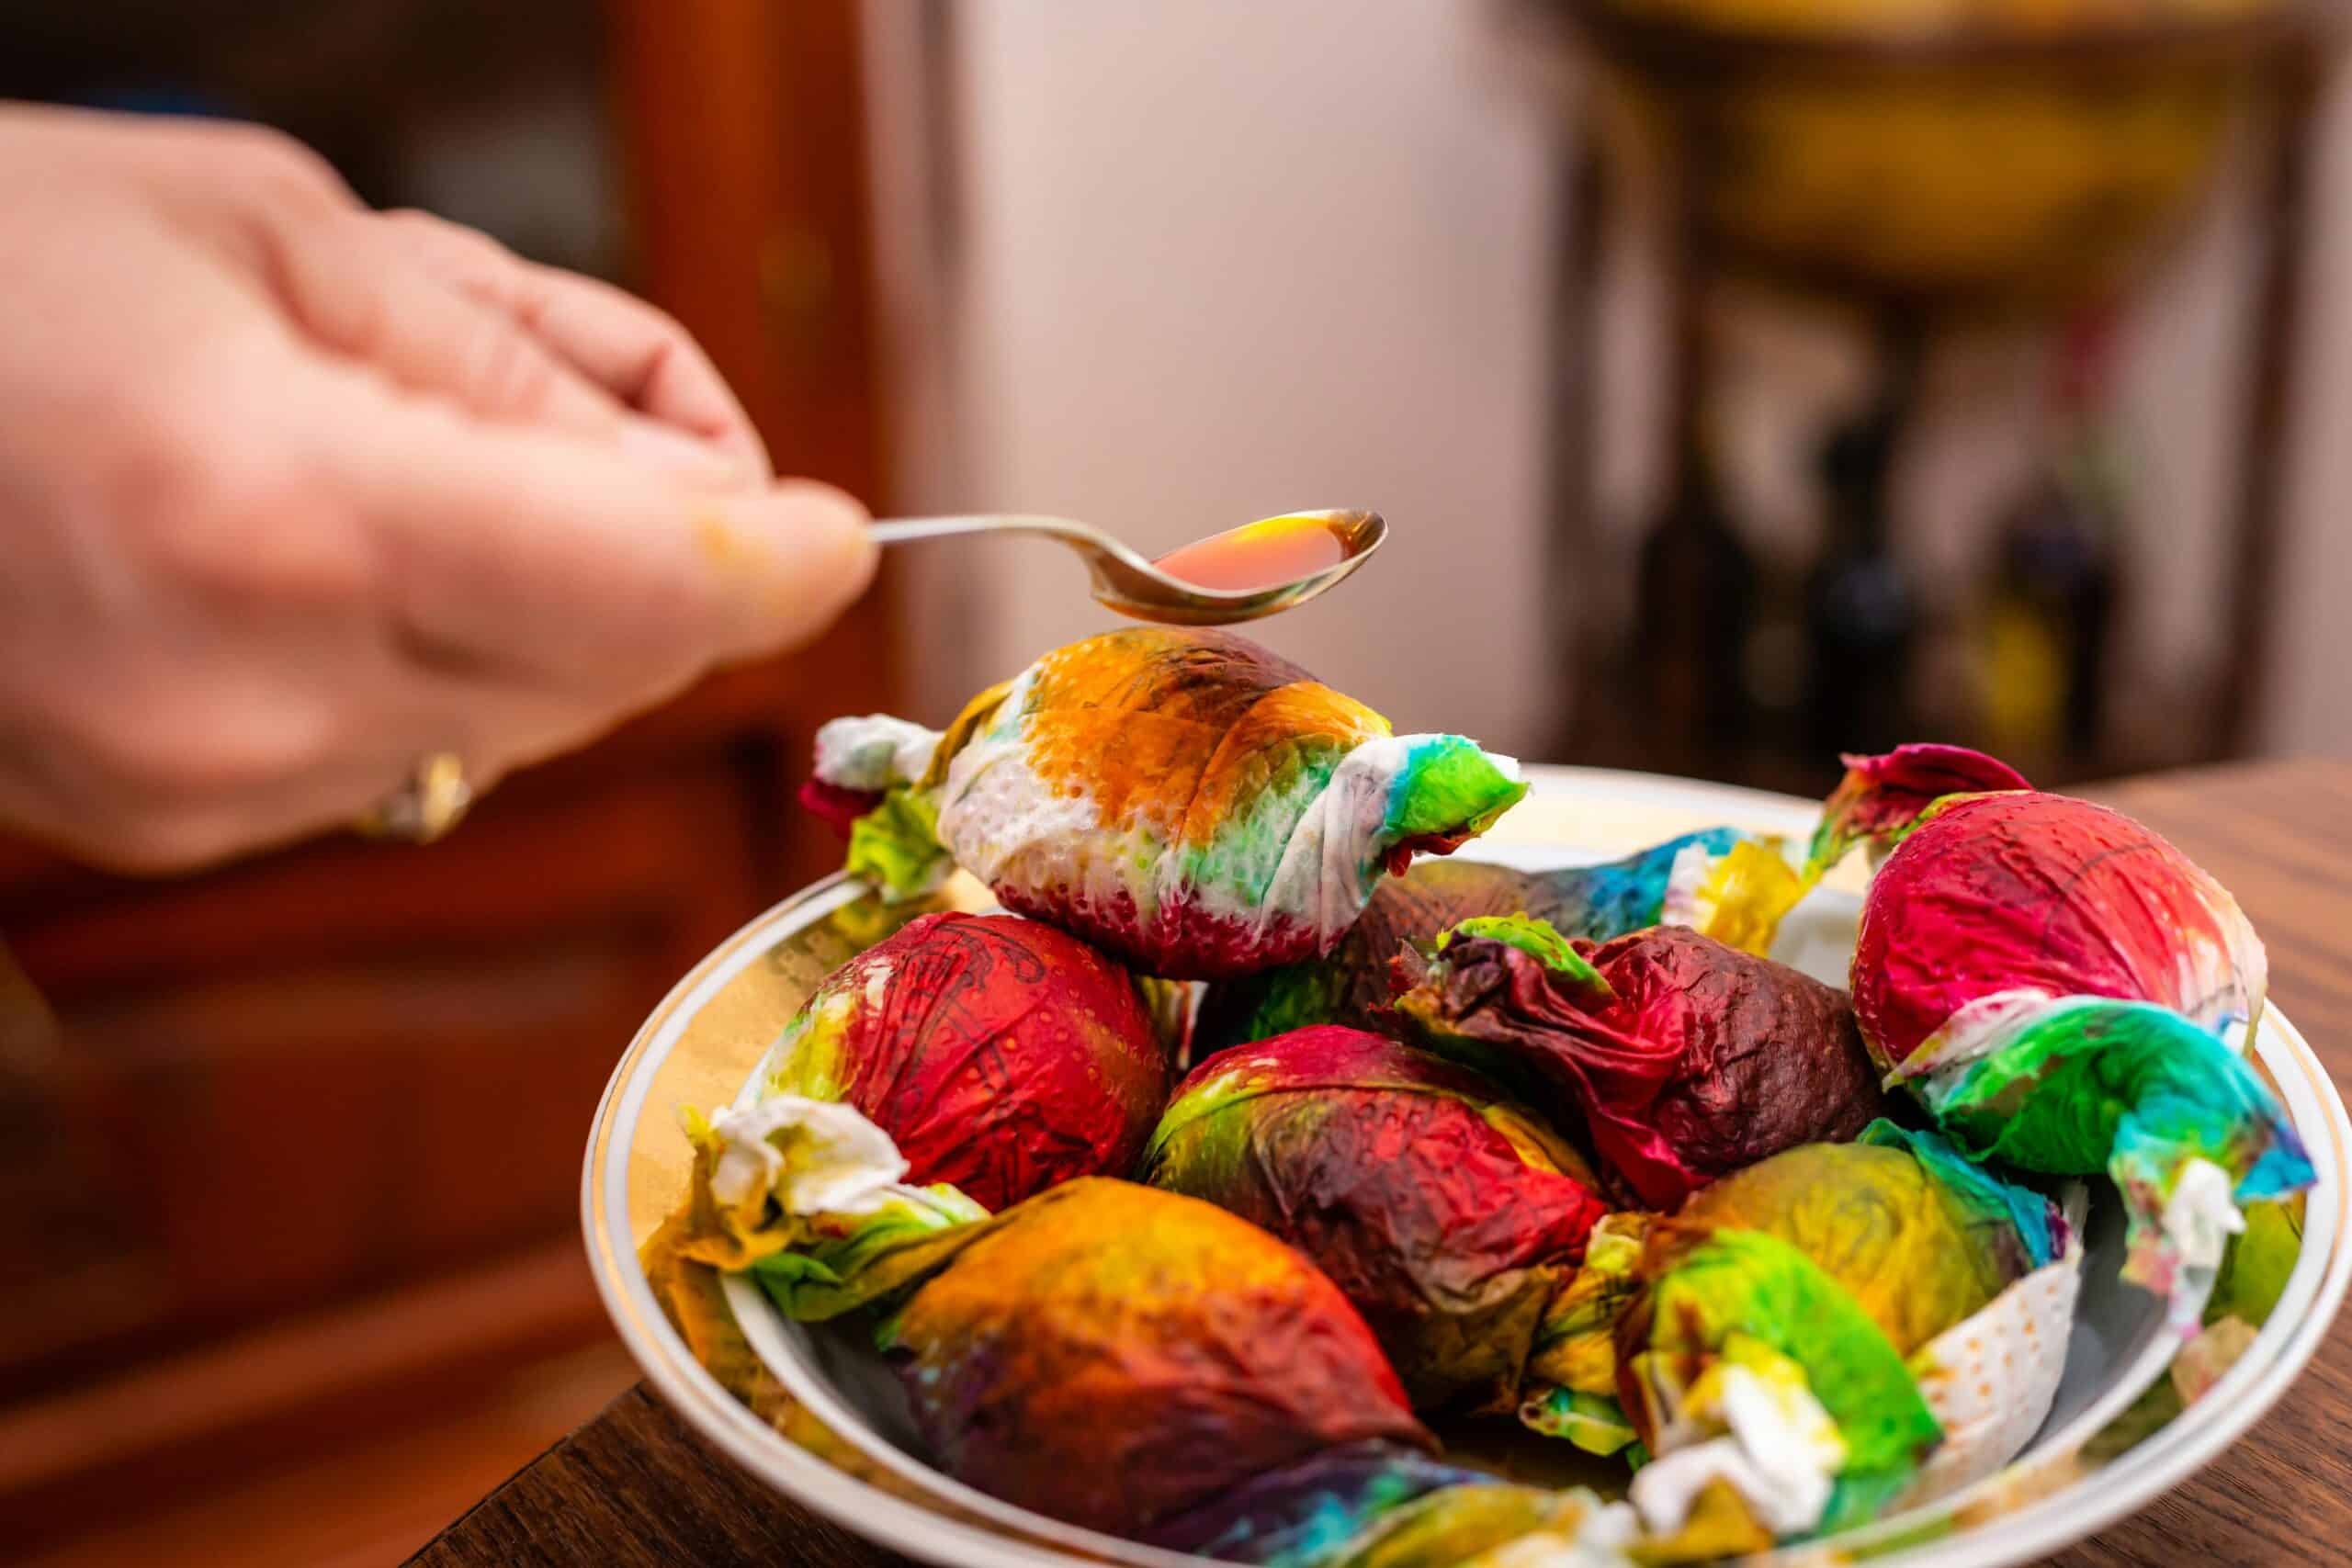
If you like a more earthy, homemade look, natural dyes can be really beautiful. Ingredients like red cabbage, turmeric, blueberries, onion skins, or beets can create muted shades that feel a little rustic and unique.
If your eggs keep turning out pale, a few adjustments help.
Add a little more food coloring than you think you need. Let the eggs sit in the dye longer. Use white eggs instead of brown. And always use vinegar in the dye mixture. Those four things usually fix the problem fast.
You can also refrigerate dyed eggs in the color for a while if you want deeper shades, as long as you are handling them safely and keeping them chilled.
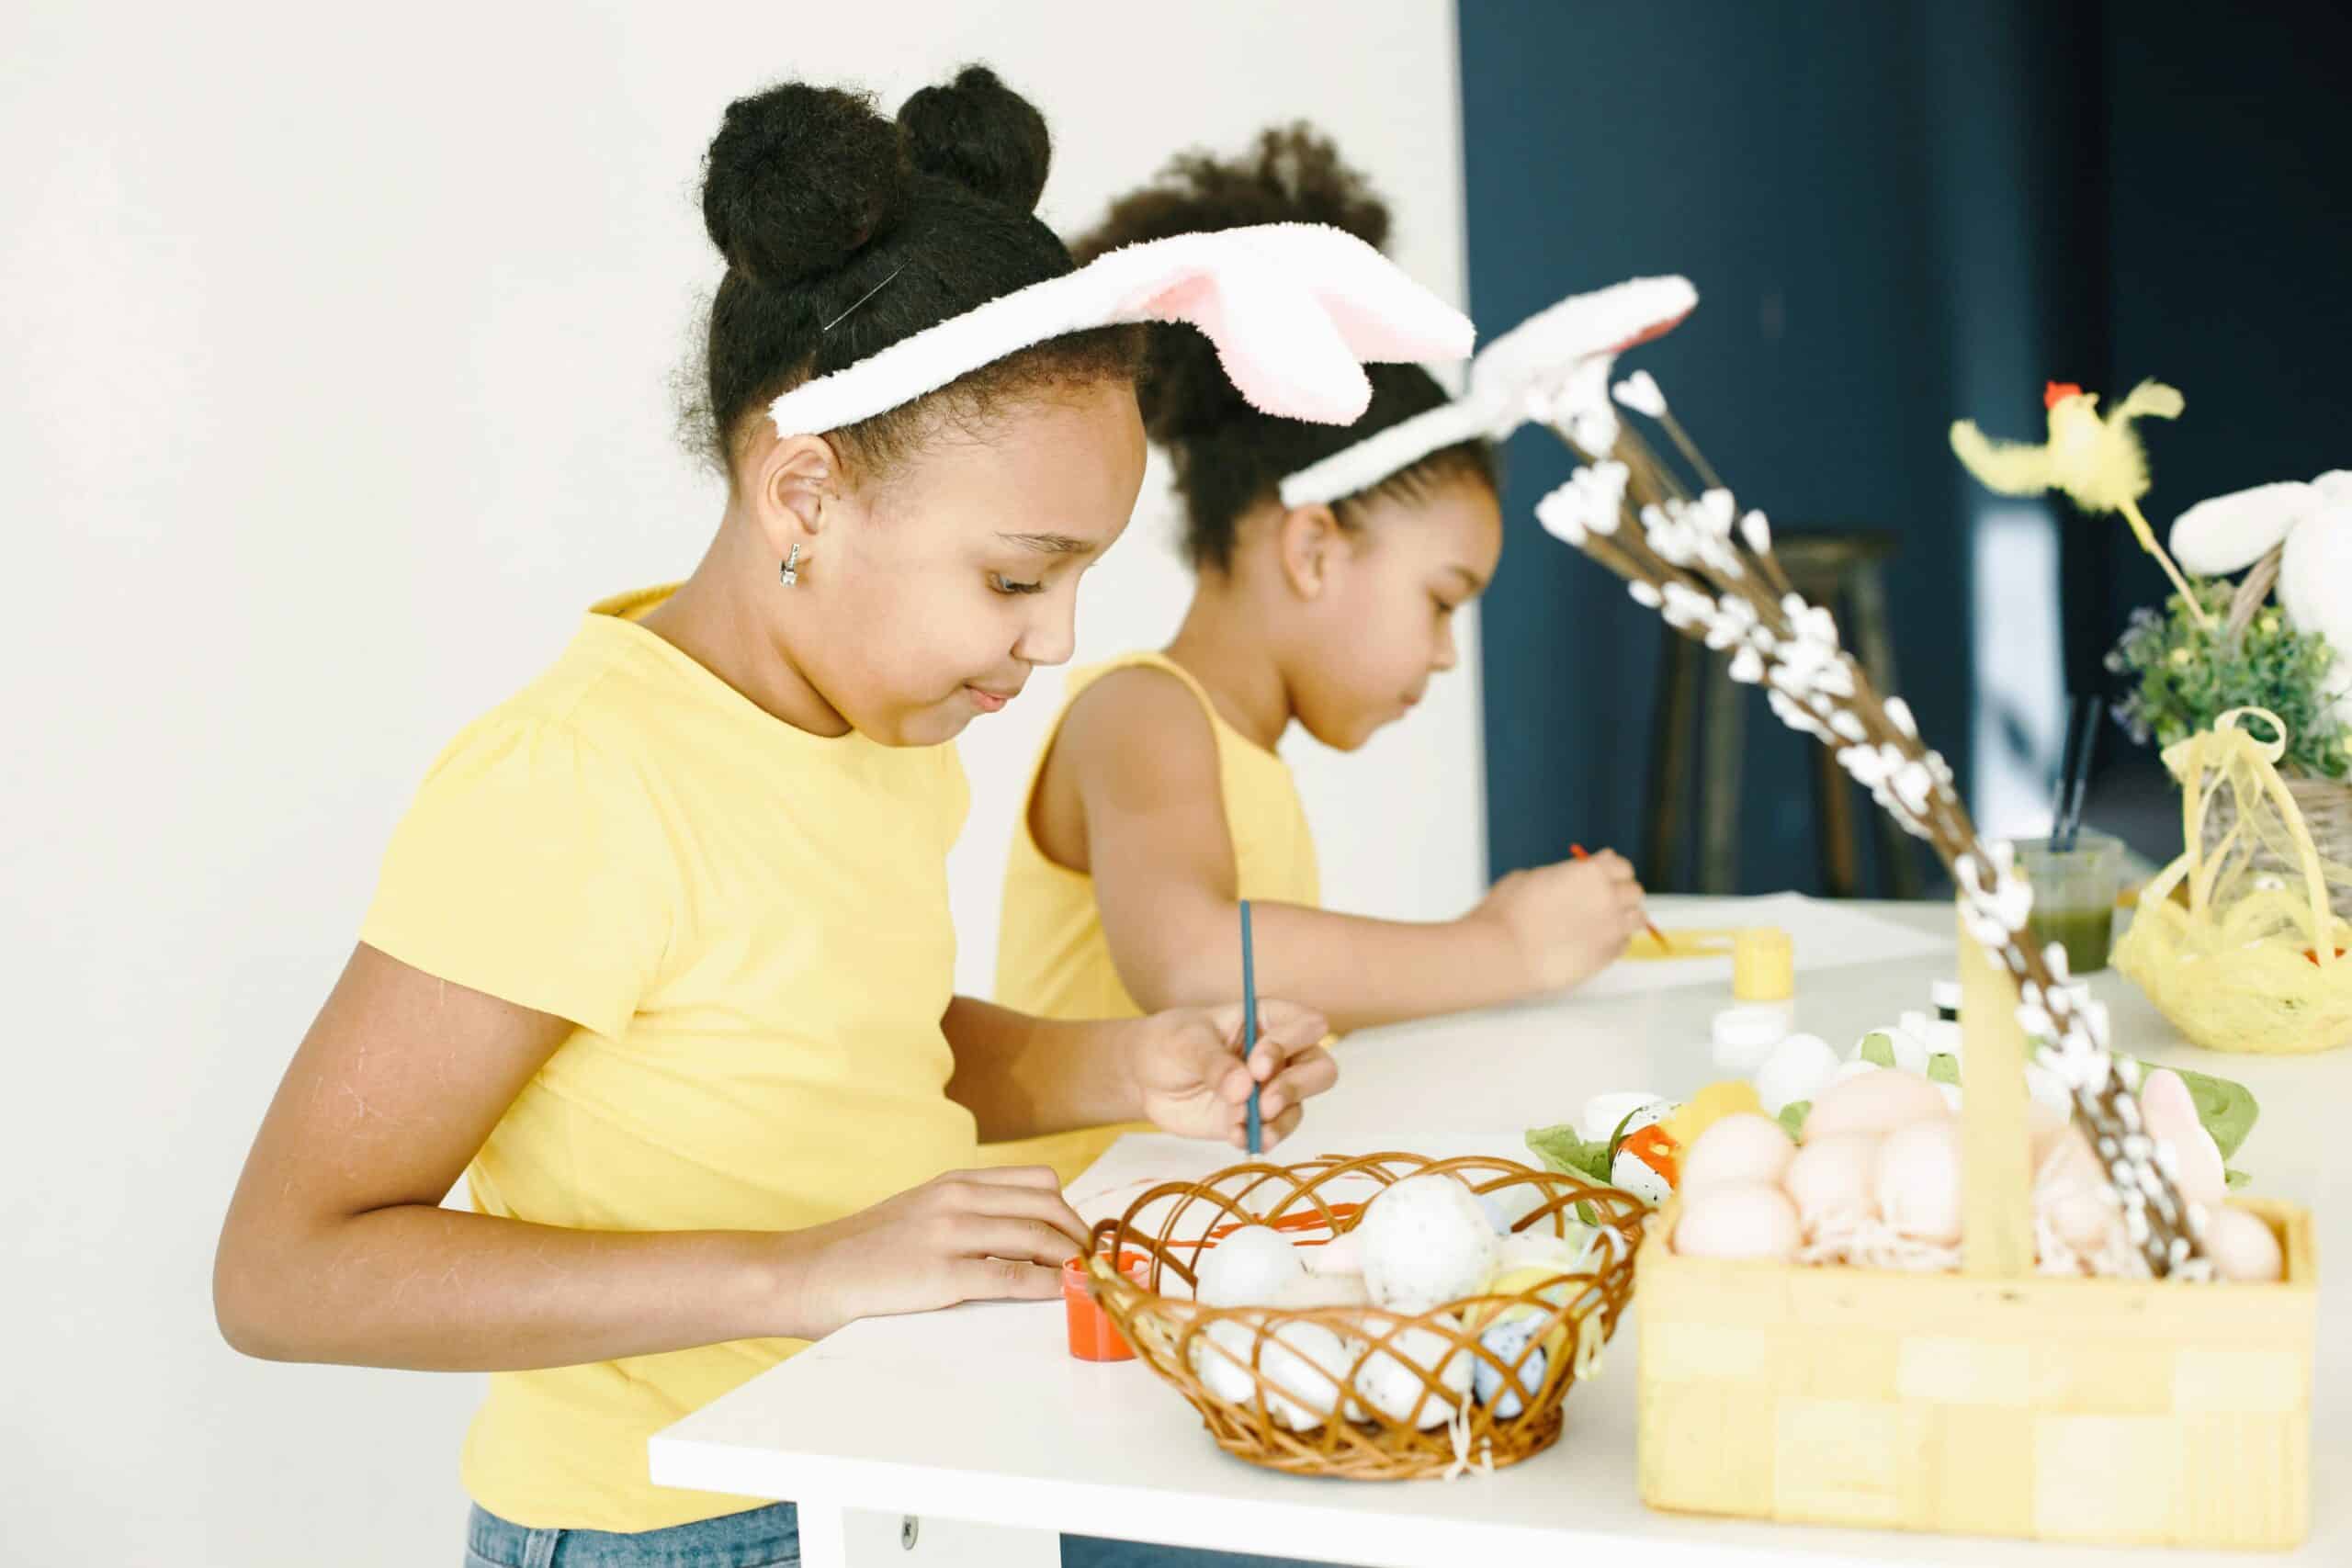
If kids are helping, keep the process simple. Set out only a few colors at a time, use cups that will not tip over easily, and choose decorating ideas that do not need perfect precision.
Sticker eggs, crayon eggs, and simple dip-dyed eggs are usually the most fun for younger kids. It keeps the activity creative without turning it into a complicated craft project.
If you plan to eat the eggs later, keep them refrigerated and do not leave them sitting out too long. Dyed eggs are still food, so treat them like any other hard-boiled egg.
If the eggs were out at room temperature for a long stretch, it is better to use them for display only.
Dyeing Easter eggs does not need to be fancy to be memorable. A few cups of color, a carton of boiled eggs, and a little table mess are really all it takes to make the day feel special. You can keep it classic, try a few playful patterns, or let everyone make a completely different design. That is part of the charm.