


- MISC
How to Clean Leather Safely and Keep It Looking New

Keeping your dryer vent clean is an essential part of home maintenance that not only improves the efficiency of your dryer but also reduces the risk of fire hazards. Over time, lint and debris can accumulate in the vent, leading to longer drying times and potential overheating. In this guide, we will explore the tools and materials needed, walk you through the step-by-step process to clean your dryer vent, and offer tips on maintaining it for optimal performance and safety.
Before embarking on the task of cleaning your dryer vent, it’s important to gather all the necessary tools and materials. Having everything ready will make the process smoother and more efficient. Here’s a list of tools and materials needed:
Cleaning your dryer vent involves several steps, each crucial for ensuring a thorough job. Follow these detailed cleaning steps to ensure your dryer is running safely and efficiently:
Begin by unplugging the dryer from the electrical outlet. If you have a gas dryer, turn off the gas valve to prevent any leaks. Move the dryer away from the wall to access the vent duct.
Use a screwdriver or drill to detach the vent hose from the back of the dryer. Be careful not to damage the hose or the clamps holding it in place.
Using the brush from your dryer vent cleaning kit, gently clean the inside of the vent hose to remove any lint and debris. For stubborn buildup, attach the flexible rods to reach deeper into the hose.
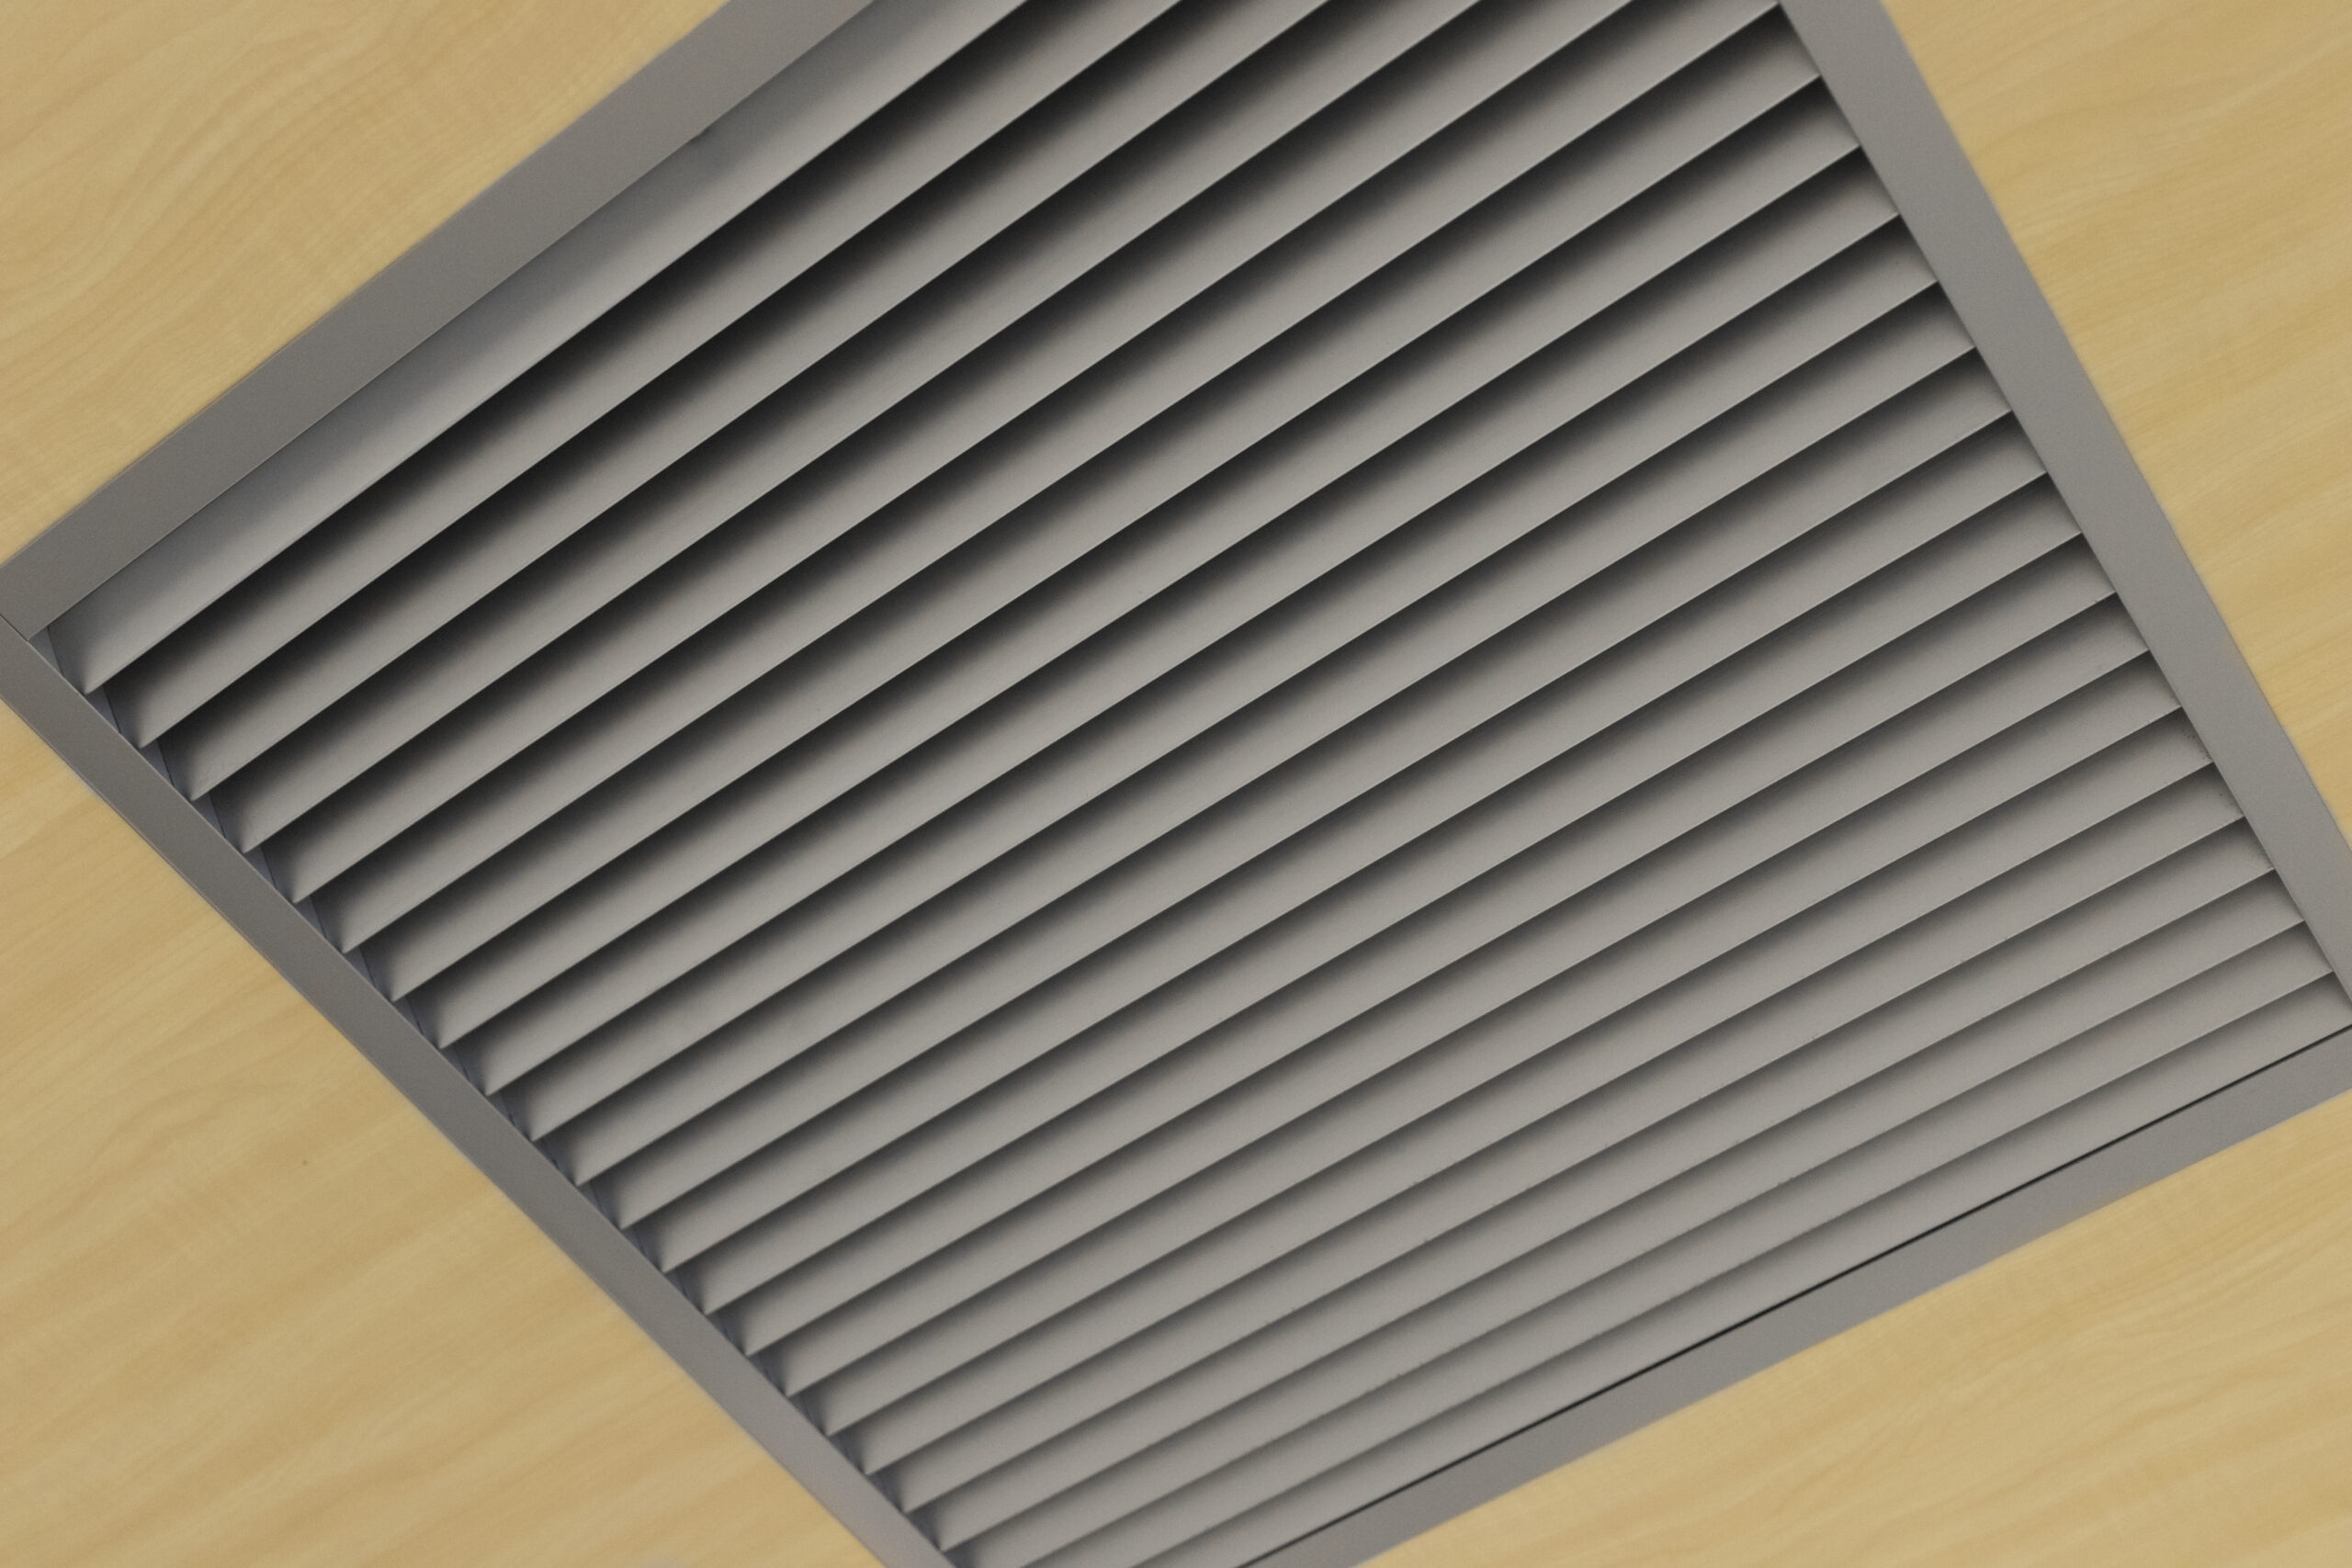
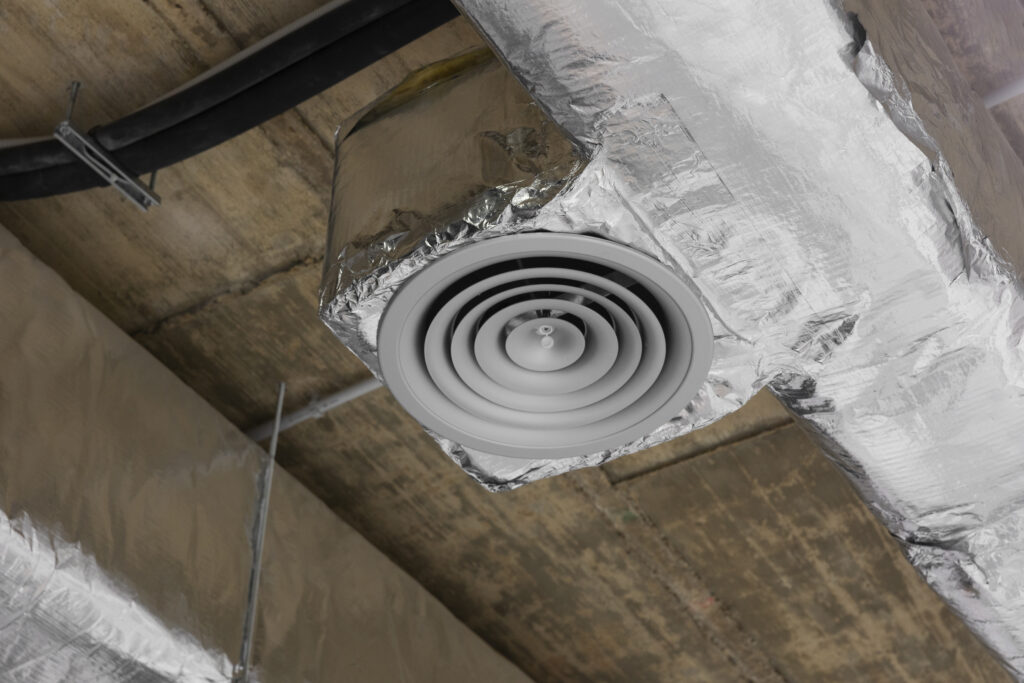
Next, focus on the vent opening in the wall. Use the vacuum cleaner with a hose attachment to suck out any loose lint. Follow up with the brush from your cleaning kit to dislodge and remove any remaining debris.
Go outside and locate the exterior vent. Remove the cover and use the flashlight to inspect for blockages. Clear any obstructions using the brush or vacuum. Ensure the vent flap moves freely to allow proper airflow.
Once everything is clean, reattach the vent hose to the dryer and the wall. Secure it with clamps and ensure there are no kinks. Plug the dryer back in, turn on the gas if applicable, and run a test cycle to ensure everything is functioning correctly.
Safety should always be a priority when performing home maintenance tasks. Here are some safety notes and precautions to follow when cleaning your dryer vent:
While regular cleaning is essential, there are alternative methods to maintain your dryer vent and prevent future blockages:
Regular inspection of your exterior vent is crucial to ensure it remains free from blockages. Here’s how to inspect it effectively:
Maintaining your dryer vent not only enhances safety but also contributes to home improvement by increasing your dryer’s efficiency and lifespan. Here are some tips for ongoing maintenance:
By following these guidelines and maintaining a regular cleaning schedule, you can ensure your dryer operates safely and efficiently, providing peace of mind and extending the appliance’s life.