

- HUMOR
The 100 Best Yo Mama Jokes

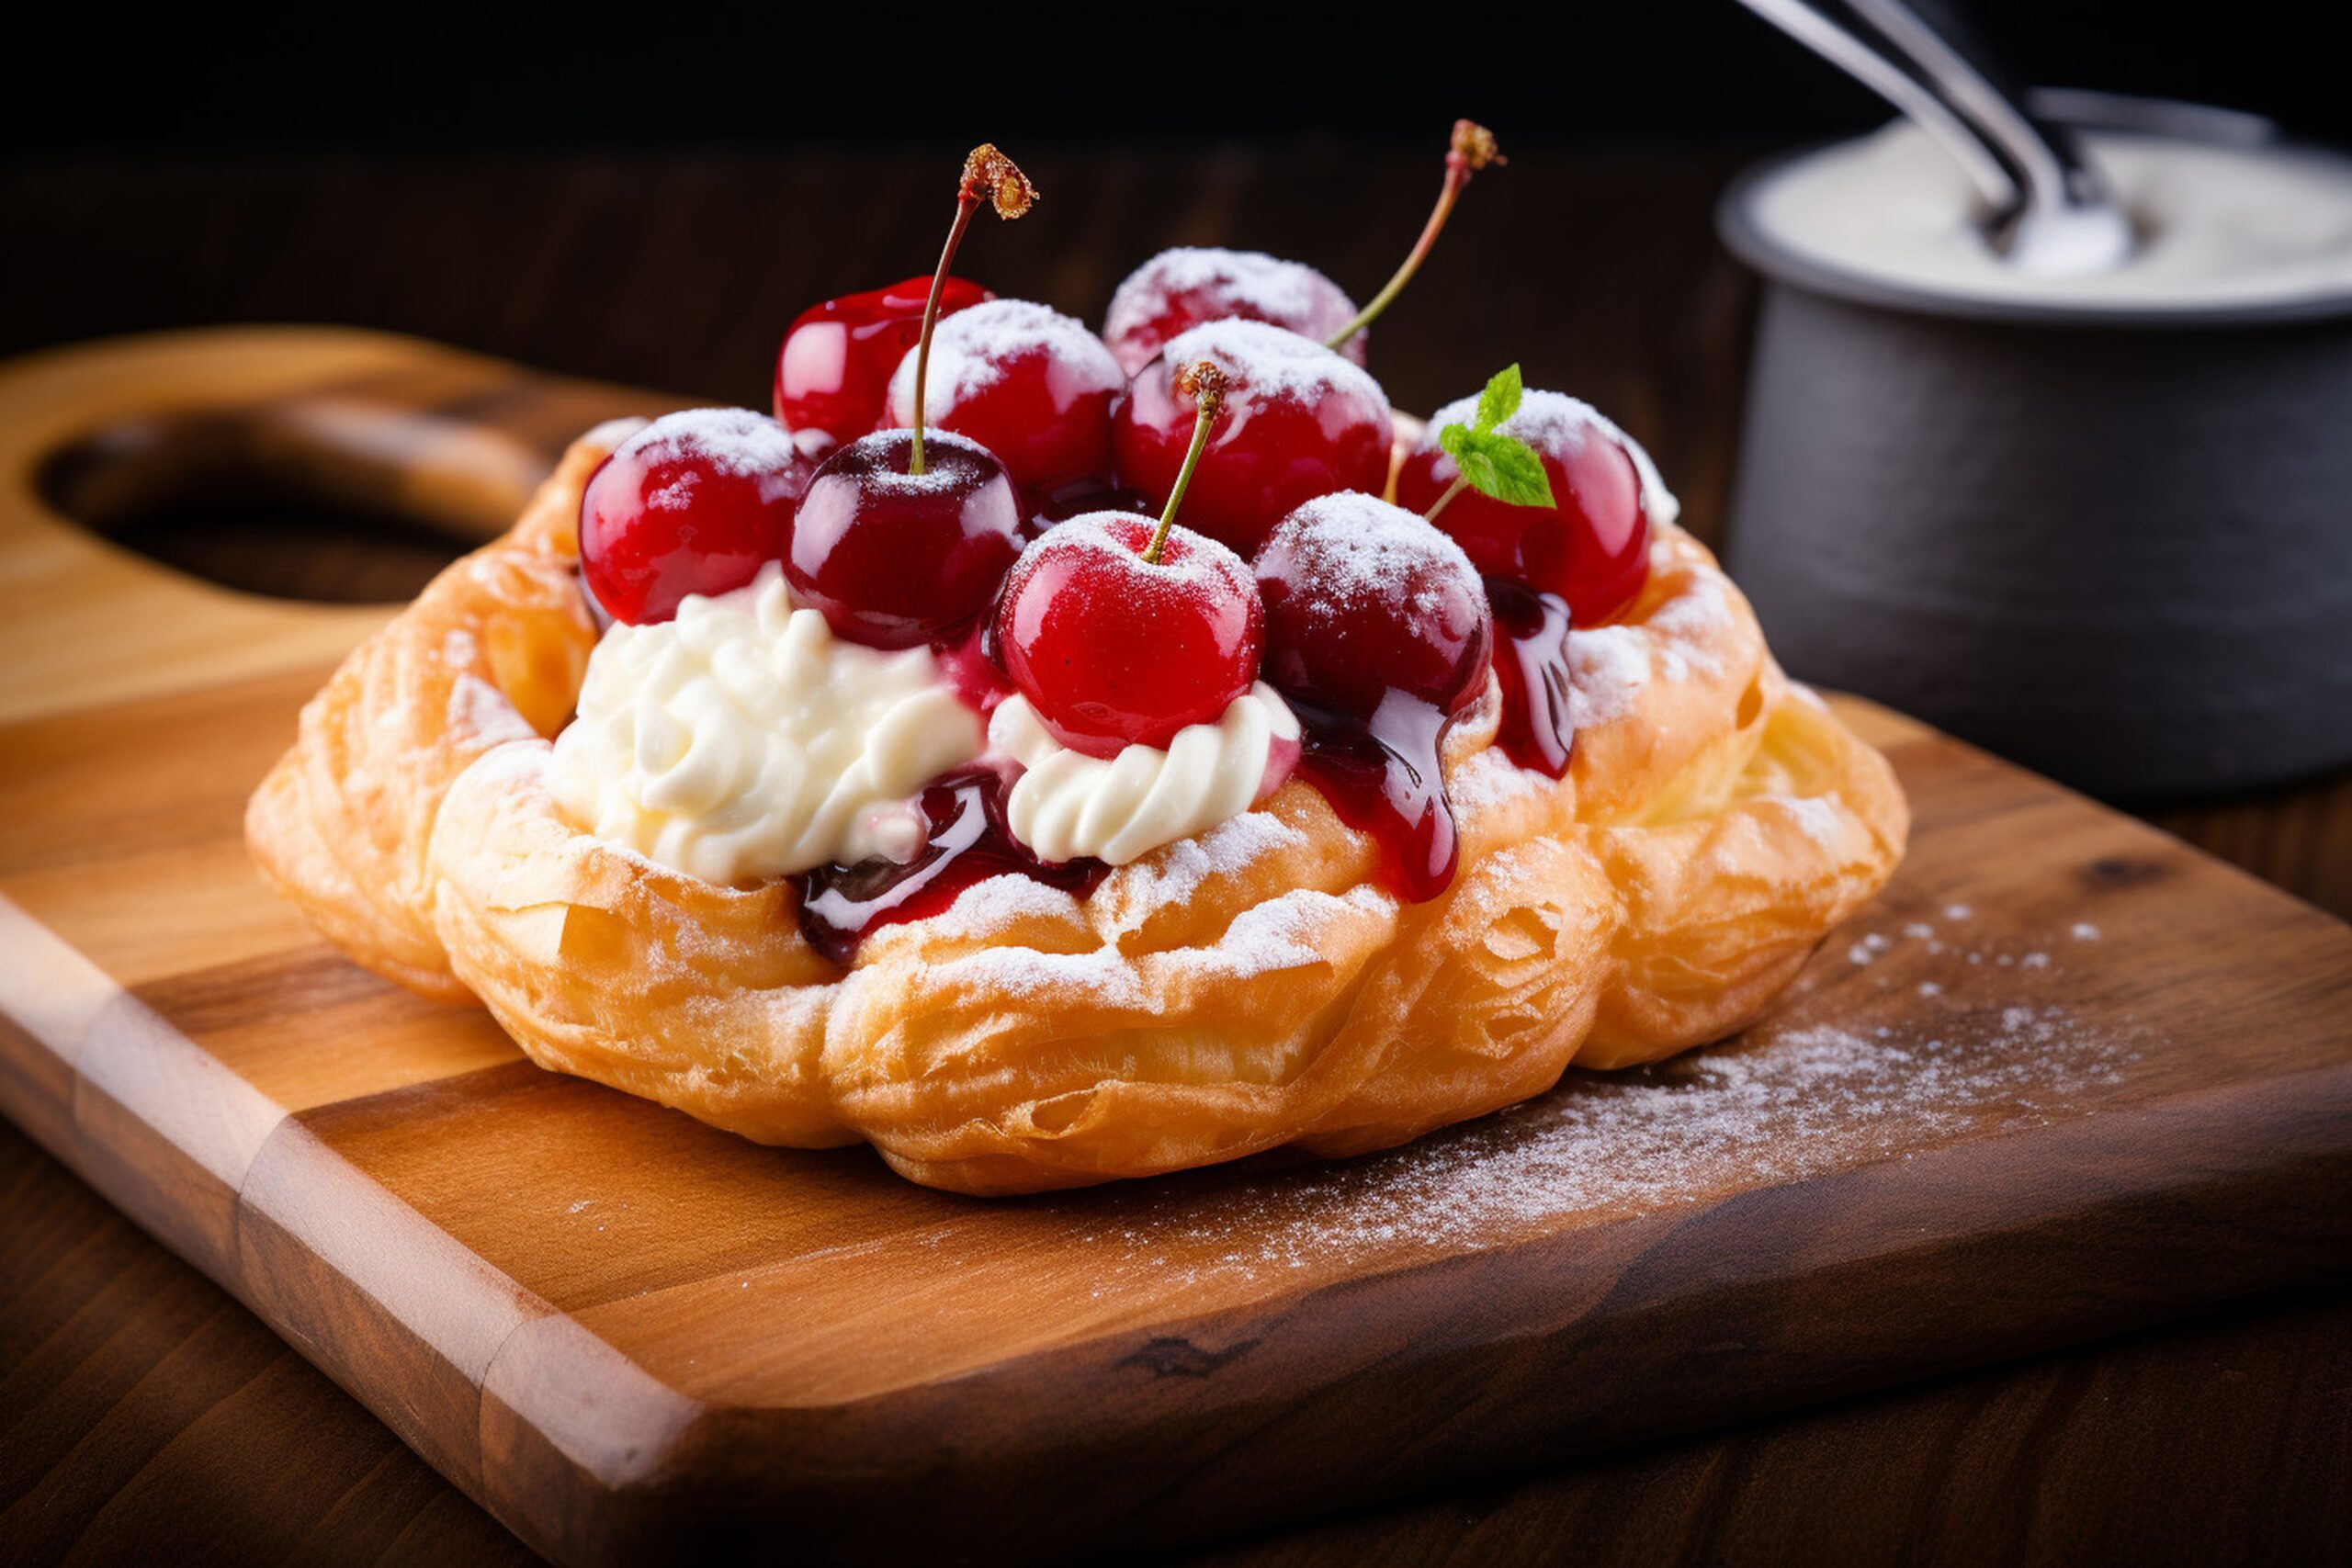
The cherry cream Danish, with its flaky layers and luscious filling, is a beloved pastry that combines the tartness of cherries with the creamy richness of cheese. Perfecting this treat at home can be both a rewarding and challenging endeavor, especially for those new to pastry making. This comprehensive guide will walk you through common pitfalls, offer pro hacks, and provide a step-by-step troubleshooting guide to ensure your cherry cream Danish turns out beautifully every time.
The foundation of a perfect cherry cream Danish lies in the quality of the puff pastry. While homemade puff pastry can elevate the final product, store-bought options are convenient and effective. When selecting a puff pastry, look for all-butter varieties as they offer superior flavor and texture. Avoid pastry with artificial additives that can compromise the taste and flakiness.
The cream cheese mixture is crucial for achieving the right balance of flavors in your Danish. Here’s a specific recipe to follow:
Beat the cream cheese until smooth, then gradually add in the sugar, vanilla, and lemon juice. This mixture should be creamy and slightly tangy, complementing the sweetness of the cherries perfectly.
Fresh cherries can elevate your Danish, offering a burst of natural sweetness. To prepare the cherries, pit and halve them before use. Toss the cherries with a teaspoon of cornstarch and a tablespoon of sugar to help thicken their juices during baking. This step ensures the cherries remain juicy without making the pastry soggy.
When it comes to the cherry component, you have the option of using fresh cherries or pie filling. Each has its advantages:
Pros: Natural flavor, customizable sweetness, no preservatives.
Cons: More preparation required, seasonal availability.
Pros: Convenient, consistent flavor, available year-round.
Cons: Often contains preservatives and high sugar content.
Consider your time, taste preferences, and ingredient availability when choosing between these options.
A golden brown finish is a hallmark of a well-baked Danish. To achieve this, use an egg wash made from one beaten egg and a tablespoon of milk. Brush the egg wash lightly over the pastry before baking. This step not only enhances color but also adds a slight sheen to the finished product.
The egg wash is more than just a final touch; it’s essential for a professional finish. Ensure your pastry is cold before applying the egg wash to prevent the layers from collapsing. Use a pastry brush to apply a thin, even layer over the entire surface of the pastry, avoiding any pooling of the egg wash, which can lead to uneven browning.
Proper rolling and shaping of the dough are vital for a flaky Danish. Roll the dough on a lightly floured surface to prevent sticking. Aim for an even thickness throughout, typically about 1/4 inch. When shaping the Danish, be gentle to maintain the layers of the puff pastry, which contribute to its flakiness.
Even experienced bakers can encounter issues when making Danish. Here are some common mistakes and how to avoid them:
Despite your best efforts, issues can arise. Here’s a step-by-step troubleshooting guide:
Having the right tools can make the process smoother and more enjoyable. Here is a list of essential baking tools:
While the classic cherry cream Danish is delightful, experimenting with flavors can add variety to your baking repertoire. Consider adding almond extract to the cream cheese mixture for a nutty undertone. Alternatively, mix in a handful of chocolate chips for a decadent twist.
To keep your Danish fresh, store it in an airtight container at room temperature for up to two days. For longer storage, refrigerate for up to a week. To reheat, place the Danish in a preheated oven at 350°F (175°C) for 5-10 minutes, which will revive its flakiness without drying it out.
Enhance your cherry cream Danish experience by pairing it with the right beverage. A cup of freshly brewed coffee or a latte complements the pastry’s richness. For a lighter option, consider serving with a refreshing glass of iced tea or a sparkling wine for a touch of elegance.