


- HUMOR
Discover the Best Sleep Memes

Orchids, with their breathtaking blooms and diverse varieties, have long captivated plant enthusiasts across the globe. Their allure, however, is matched by a reputation for being somewhat demanding in their care. Whether you’re a novice just beginning your orchid journey or an experienced grower looking to refine your techniques, understanding the nuances of orchid care is crucial for nurturing these stunning plants to their full potential. This guide explores essential care practices, from basic to advanced, ensuring your orchids not only survive but thrive.
For those new to orchid cultivation, starting with the basics is key. Orchids are unique in their needs, differing significantly from typical houseplants. The initial focus should be on understanding the specific requirements of your orchid species, as not all orchids are created equal.
One of the first steps is to select the right orchid for your environment. Beginners often find success with Phalaenopsis orchids, known for their forgiving nature. These orchids adapt well to indoor conditions, making them ideal for novice growers.
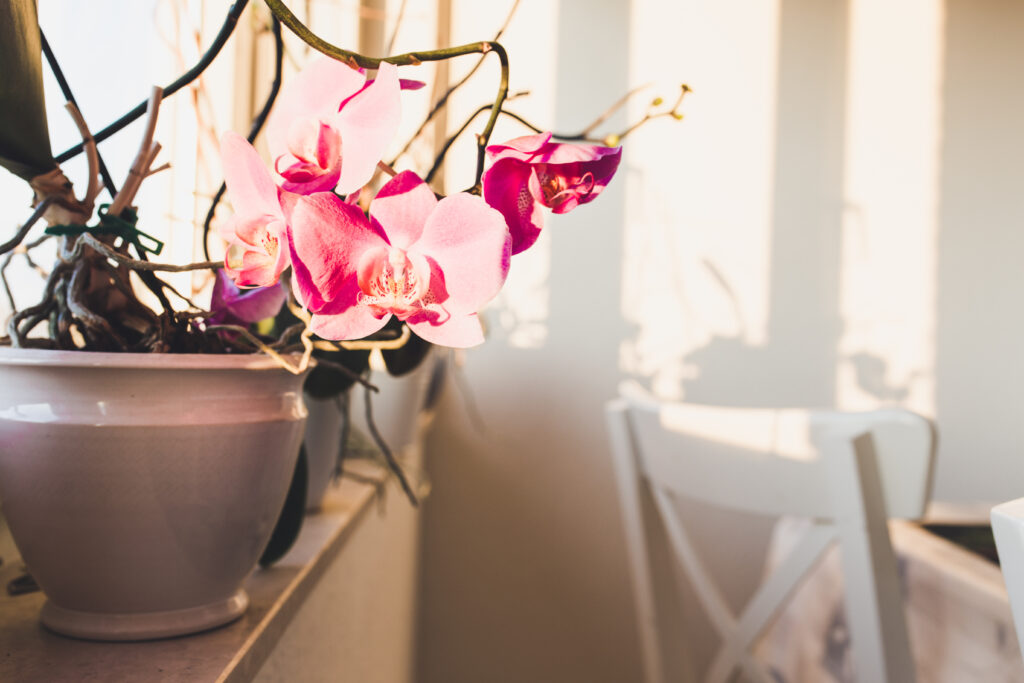
Placement is crucial. Orchids thrive in environments that mimic their natural habitats. For most orchids, this means bright, indirect sunlight. Avoid direct sunlight, which can scorch leaves, and instead aim for filtered light through a sheer curtain.
Once you’ve mastered the basics, advancing your orchid care involves fine-tuning environmental conditions and care routines to optimize growth and flowering. This includes understanding specific light and humidity requirements for different orchid species.
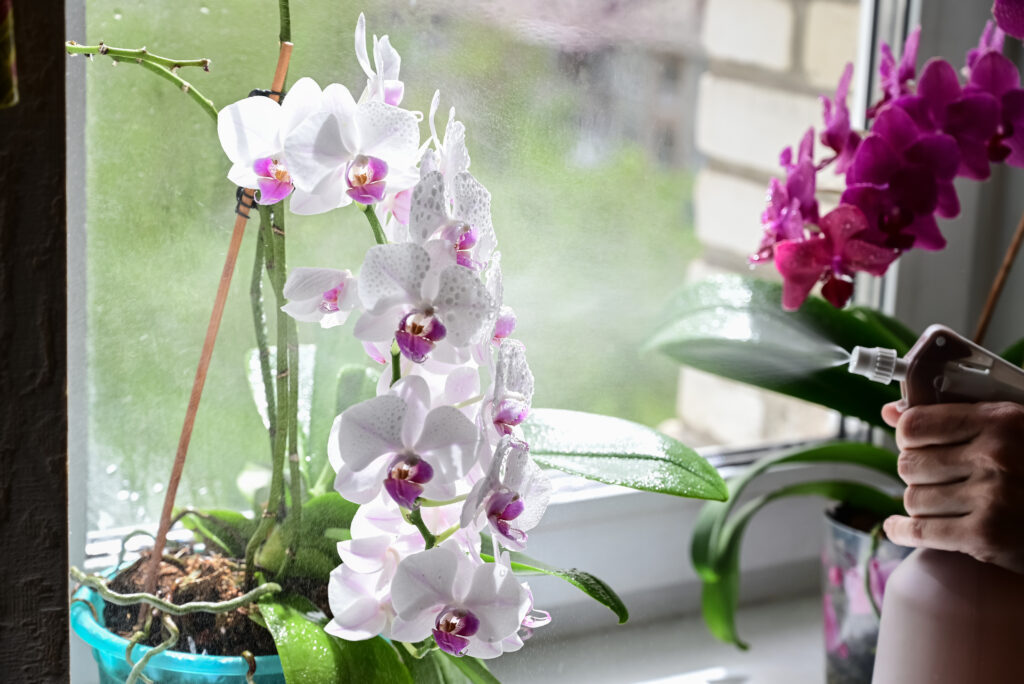
Advanced growers often invest in tools like humidity trays or humidifiers to maintain ideal moisture levels. Many orchids, particularly those from tropical regions, require higher humidity levels, often between 50-70%. Monitoring and adjusting humidity can significantly impact an orchid’s health and flowering potential.
Moreover, advanced techniques involve experimenting with different potting media to improve aeration and drainage. While bark is a common choice, some enthusiasts prefer sphagnum moss, coconut husk, or a mix tailored to their orchid’s specific needs. Regularly assessing and adjusting the potting medium can enhance root health and overall vigor.
Light is one of the most critical factors in orchid care, yet it varies widely among different species. Understanding these differences can make a significant difference in the health and blooming of your orchids.
Phalaenopsis and Paphiopedilum orchids prefer low to medium light, thriving in environments where they receive gentle morning sun or shaded afternoon light. In contrast, Cattleya and Dendrobium orchids require more intense light, often flourishing in bright, indirect sunlight.
To assess whether your orchids are receiving adequate light, observe their leaves. Dark green leaves typically indicate insufficient light, while yellowish-green leaves suggest optimal lighting conditions. If leaves turn yellow or develop sunburn spots, reduce light exposure immediately.
Watering orchids can be a balancing act, as both overwatering and underwatering can lead to problems. Understanding the specific watering needs of your orchid species is essential.
Most orchids prefer to dry out slightly between waterings. For instance, Phalaenopsis orchids typically require watering once a week, while Dendrobiums may need water more frequently during their active growth periods. A good rule of thumb is to water when the potting medium feels dry to the touch, but not completely desiccated.
Consider the method of watering as well. Soaking the potting medium thoroughly and allowing excess water to drain is more effective than light, frequent watering. This ensures that roots receive the moisture they need without becoming waterlogged.
Fertilizing orchids provides them with essential nutrients needed for robust growth and blooming. However, over-fertilizing can do more harm than good, so it’s crucial to follow specific guidelines.
Use a balanced, water-soluble fertilizer with equal parts nitrogen, phosphorus, and potassium. During the growing season, typically spring and summer, fertilize every two weeks. In the fall and winter, reduce fertilization to once a month or cease altogether, depending on the orchid’s growth cycle.
Always dilute the fertilizer to half the recommended strength to avoid nutrient burn. Some enthusiasts follow the “weakly, weekly” rule, applying a very diluted solution more frequently, which can be particularly beneficial for orchids with continuous growth patterns.
Orchids, like all plants, are susceptible to pests and diseases, which can quickly compromise their health. Common pests include aphids, spider mites, and mealybugs, all of which require prompt attention.
Regular inspections are key. Check leaves, stems, and flowers for any signs of pests or damage. If pests are detected, isolate the affected plant to prevent spread. Mechanical removal with a soft cloth or cotton swab can be effective for small infestations.
For more serious issues, consider using insecticidal soap or neem oil, applying according to the product instructions. Always test on a small area first to ensure the plant reacts well. Maintaining good airflow and proper humidity can also deter many pests and diseases.
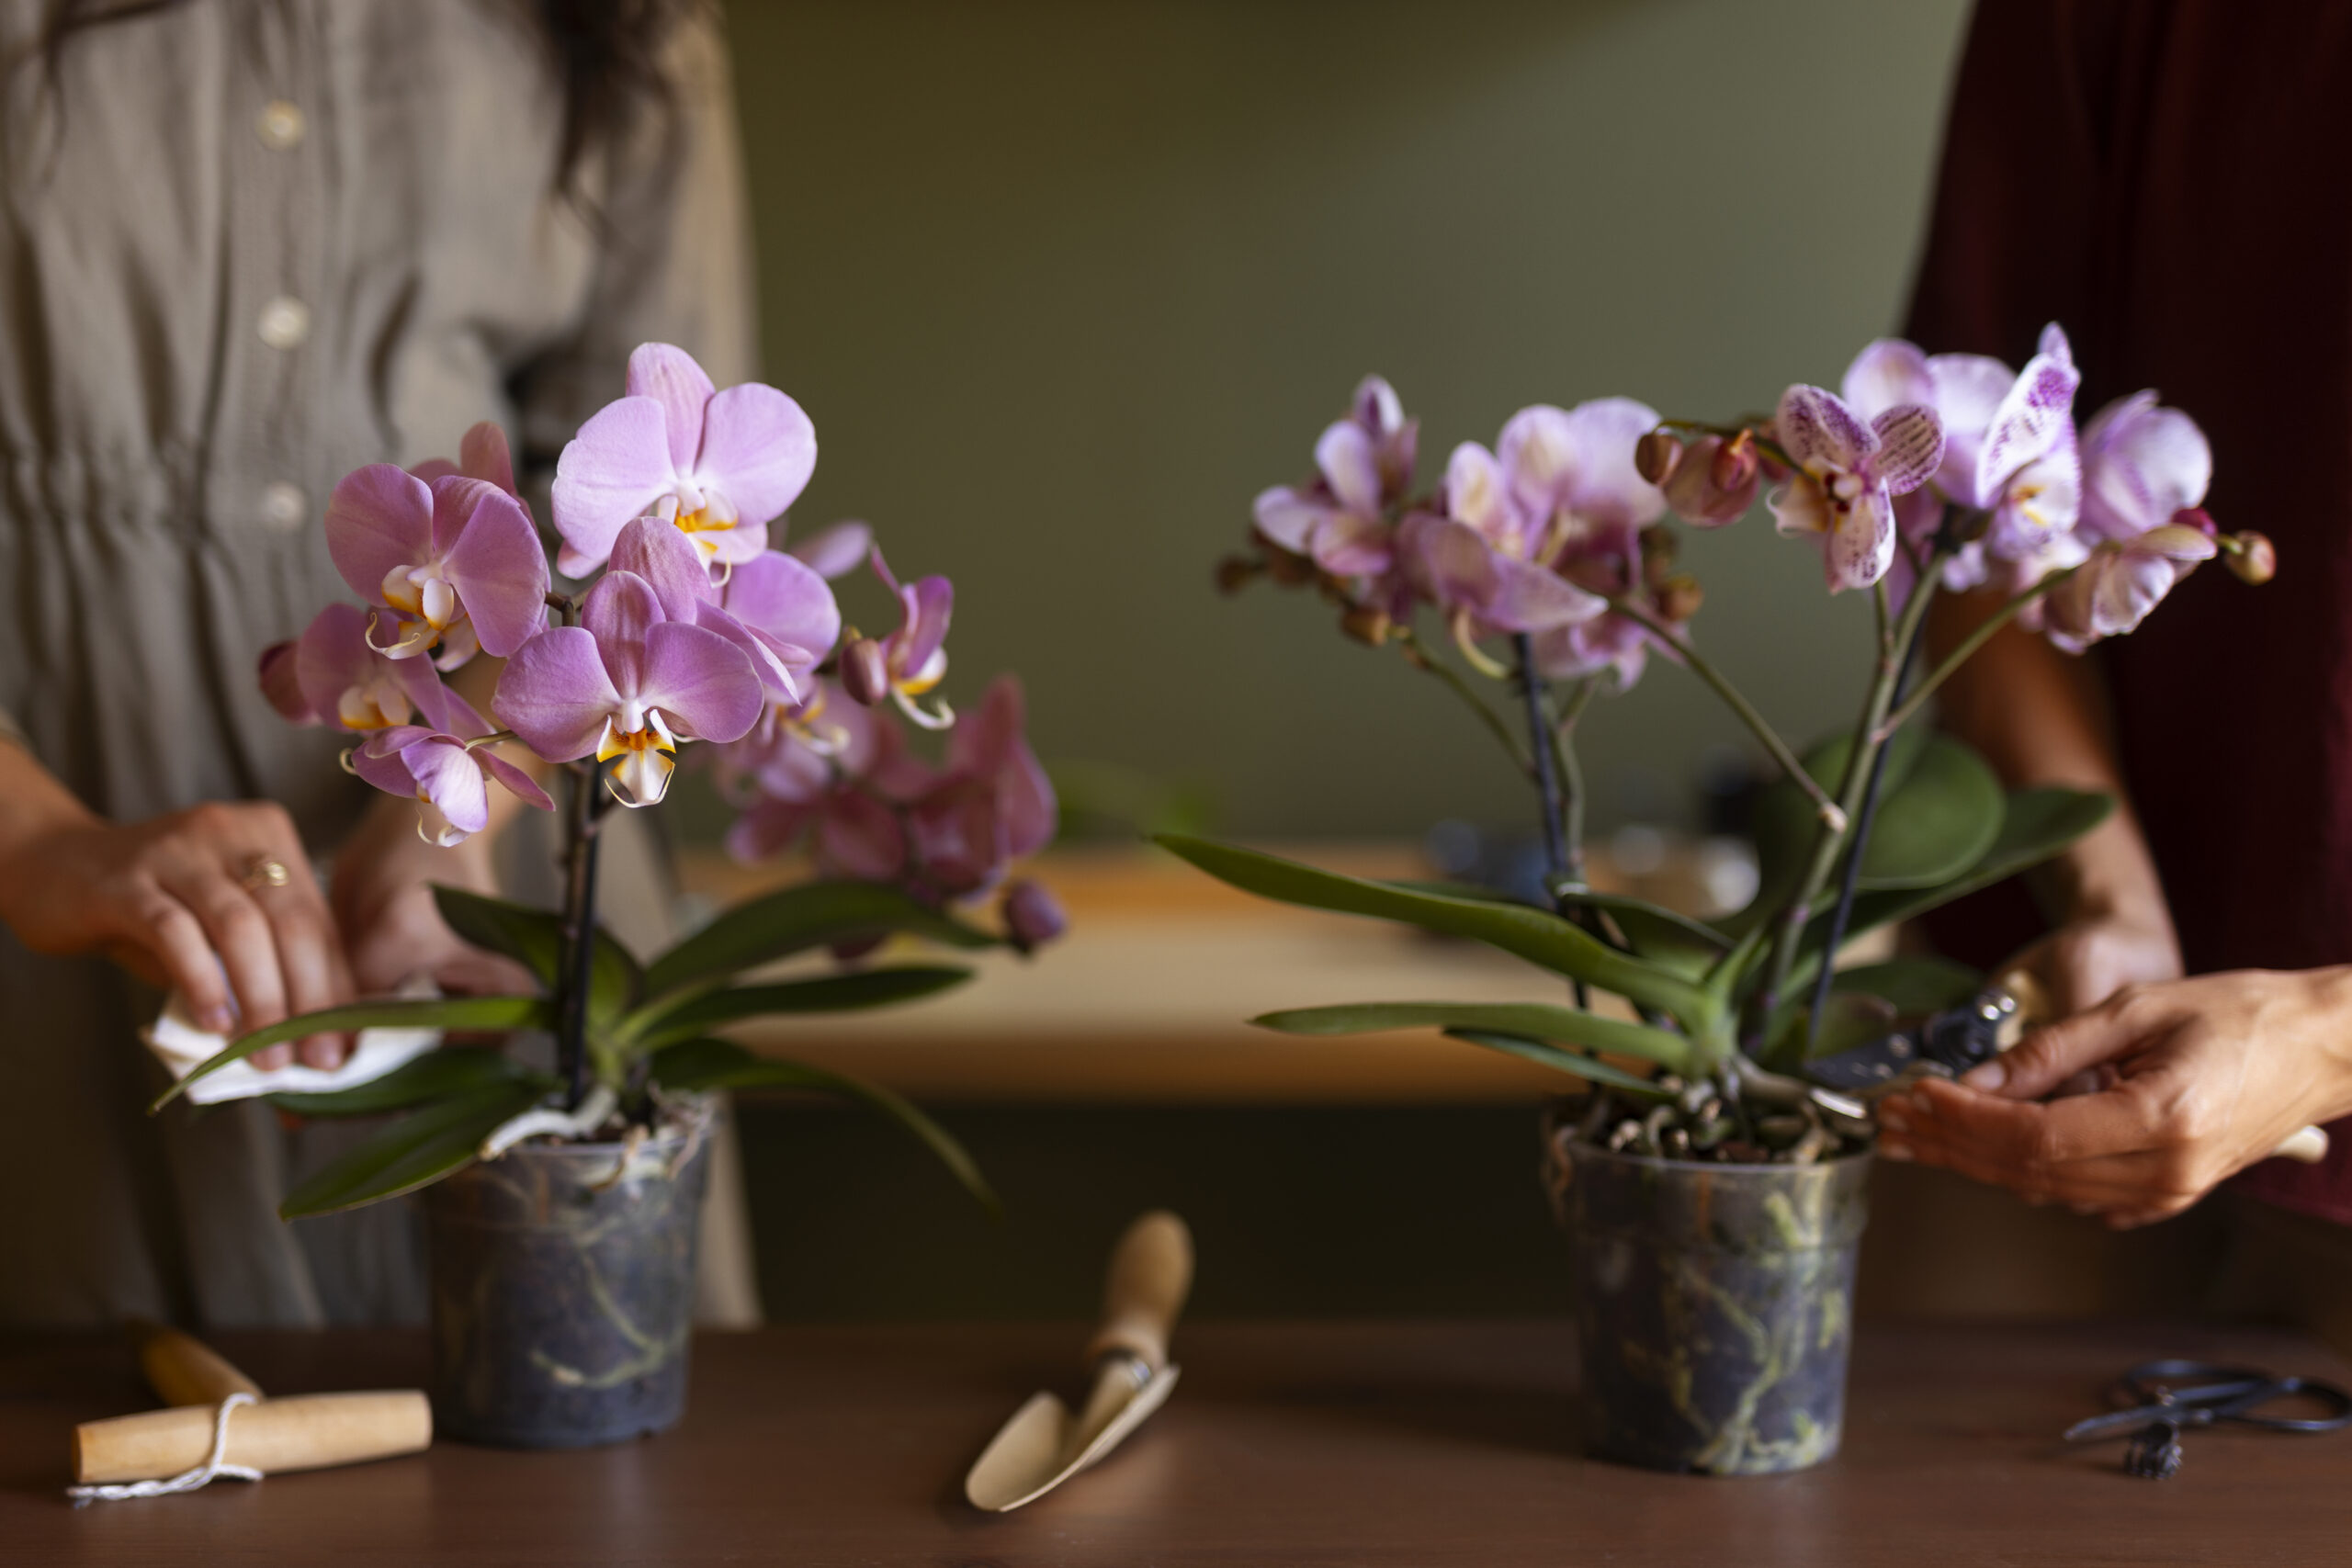
Repotting orchids is a necessary process that promotes healthy root growth and prevents disease. It’s typically required every one to two years, depending on the orchid’s growth and the condition of the potting medium.
Begin by gently removing the orchid from its current pot. If the roots are tightly packed, carefully loosen them with your fingers. Inspect the roots, trimming away any that are dead or rotting with sterilized scissors.
Choose a pot that’s slightly larger than the current one, ensuring it has adequate drainage holes. Fill the bottom with fresh potting medium, place the orchid inside, and fill around the roots with additional medium. Press gently to secure the plant without compacting the medium too tightly.
Water the orchid lightly after repotting, and place it in a location with appropriate light and humidity to encourage recovery and new growth.
Orchids require different care strategies throughout the year, adapting to seasonal changes in light, temperature, and humidity. Understanding these adjustments is vital for maintaining orchid health and encouraging blooms.
In spring, as light levels increase, gradually acclimate orchids to brighter conditions, and resume regular fertilization schedules. This is also a good time to repot, as many orchids enter their growth phase.
During summer, monitor humidity levels closely, as higher temperatures can quickly dry out potting mediums. Increase watering frequency as needed, and ensure adequate airflow to prevent fungal issues.
In fall, reduce watering and fertilization as orchids enter dormancy. This is crucial for many species, as it prepares them for winter blooming.
Winter care involves maintaining stable temperatures and ensuring sufficient light, often with the help of grow lights. Keep watering to a minimum, as orchids typically require less during this period.
By understanding and implementing these seasonal care adjustments, orchid enthusiasts can enjoy vibrant, healthy plants year-round, showcasing the full beauty of these remarkable flowers.