


- SHOPPING
iPhone 15 vs 16e The Ultimate Comparison


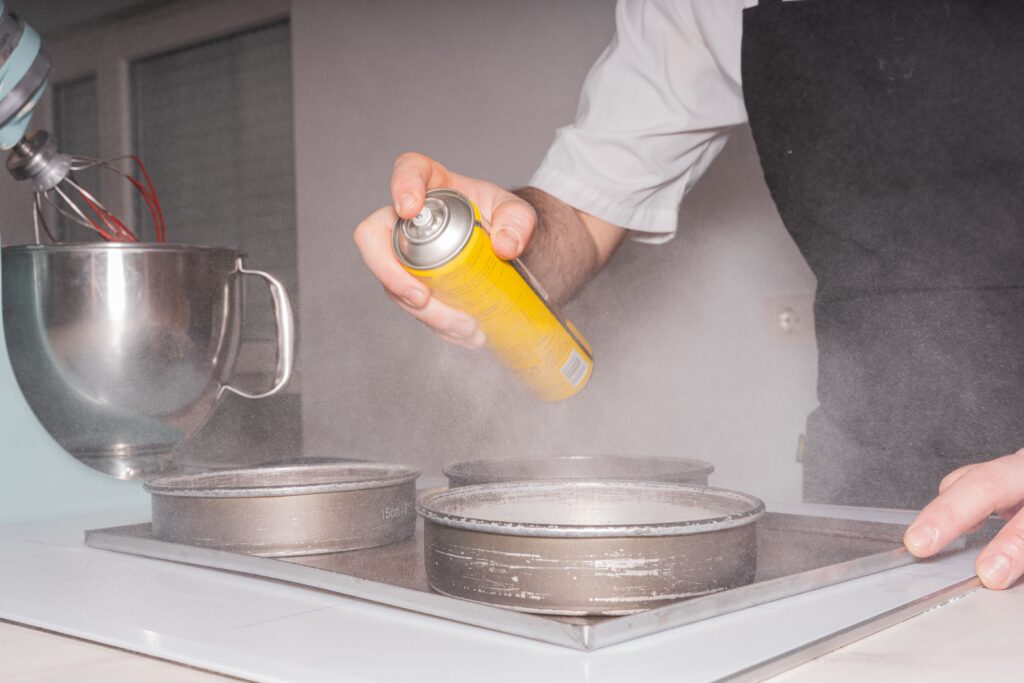
Baking can be an art and a science, and ensuring that your baked goods come out perfectly every time often requires a few tricks up your sleeve. One such trick is using a homemade baking flour spray, a versatile pan release that ensures your cakes, muffins, and breads slide out effortlessly. This article will guide you through the essentials of creating your own baking flour spray, common mistakes to avoid, and how to make the most of this kitchen staple.
Creating a homemade baking spray is straightforward and requires just a few pantry staples. The primary components are equal parts of flour, vegetable oil, and shortening. This combination provides a non-stick surface that helps in easy release of baked goods.
In a medium bowl, combine the vegetable oil, shortening, and flour. Mix until smooth and no lumps remain. Transfer the mixture to a jar with a tight-fitting lid for storage.
While making a homemade pan release is simple, there are a few pitfalls to watch out for.
One common mistake is not mixing the ingredients thoroughly. Lumps can lead to uneven application, which may cause sticking in certain areas. Always ensure the mixture is smooth before using.
Another mistake is using the wrong type of oil. Stick to neutral oils like vegetable or canola, as they have a higher smoke point and won’t impart unwanted flavors.
To make your own pan release, follow these steps for a foolproof result every time.
Experimenting with different ingredients can yield unique results. Here are some variations to try:
This recipe is perfect for those who are gluten-sensitive. Simply follow the basic method, substituting the all-purpose flour with a gluten-free blend.
For a hint of flavor, use olive oil. This variation works well with savory baked goods.
Proper storage of your homemade baking spray is key to maintaining its effectiveness. Store the mixture in an airtight container at room temperature. It should last for several months, but if you notice any separation or off smells, it’s time to make a fresh batch.
Each ingredient in your baking spray serves a specific purpose. The oil provides a smooth base, the shortening adds stability and richness, and the flour helps create a barrier between the pan and the baked goods. Understanding these roles can help you tweak the recipe to better suit your needs.
If you encounter issues with your baking spray, consider these troubleshooting tips:
If your baked goods are still sticking, ensure that you are applying enough spray to cover the entire surface of the pan. For intricate molds, use a pastry brush to get into all the nooks and crannies.
If the mixture is separating, give it a good stir or shake before use to re-emulsify the ingredients.
For those with gluten intolerance, using a gluten-free flour blend instead of all-purpose flour is a simple swap. This ensures your baking spray is safe for everyone to enjoy.
While no special equipment is needed, having a few tools can make the process easier. A whisk is perfect for combining ingredients smoothly, and a pastry brush helps with even application. A small jar with a lid is ideal for storage.
Many home bakers who’ve switched to homemade baking sprays report fewer instances of sticking and a more even bake. The ability to customize the recipe to suit dietary needs and flavor preferences is another highlight.
While traditional methods like butter or oiling and flouring a pan work well, baking spray offers a more consistent and convenient solution, especially for intricate molds and recipes prone to sticking.
Your homemade baking spray isn’t limited to baking. Use it to grease waffle irons, sandwich presses, and even as a non-stick solution for grilling vegetables. Its versatility makes it a handy tool in any kitchen.