Apple crisp is a timeless dessert that combines the comforting flavors of baked apples with a satisfyingly crunchy topping. Whether you’re a seasoned baker or a novice in the kitchen, mastering this classic recipe is both rewarding and delicious. With a few science-backed tips and a fail-proof technique, you can create an apple crisp that impresses every time. Dive into this guide to discover everything you need to know to make the perfect apple crisp, from selecting the best apples to exploring delightful variations.
Essential Ingredients for the Perfect Apple Crisp
The foundation of any great apple crisp recipe lies in its ingredients. Each component plays a crucial role in creating the ideal balance of flavors and textures.
- Apples: Choose firm varieties that hold up well during baking, such as Granny Smith, Honeycrisp, or Braeburn.
- Flour: All-purpose flour is typically used to bind the topping ingredients together.
- Sugar: A combination of brown and white sugar offers depth and sweetness.
- Butter: Cold, unsalted butter is essential for a crumbly topping.
- Spices: Cinnamon and nutmeg are classic choices that complement the apples beautifully.
- Oats: Old-fashioned rolled oats add a delightful crunch to the topping.
Choosing the Best Apples for Your Crisp
The choice of apples can significantly impact the taste and texture of your apple crisp. Here’s what to consider when selecting apples:
- Firmness: Opt for apples that maintain their shape during baking, avoiding overly soft varieties.
- Flavor Profile: A mix of tart and sweet apples can provide a balanced flavor. Consider combining Granny Smith with a sweeter variety like Fuji or Gala.
- Availability: Use locally available apples when possible for the freshest taste.
Fail-Proof Technique: Layering Flavors in Apple Crisp
Creating a well-layered apple crisp involves more than just mixing ingredients. Follow these steps for a foolproof result:
- Prepare the Apples: Peel, core, and slice the apples evenly to ensure uniform cooking. Toss them with a mixture of sugar, cinnamon, and a pinch of salt.
- Mix the Topping: Combine flour, oats, brown sugar, and cold butter. Use a pastry cutter or your fingers to create a crumbly texture.
- Layering: Spread the apple mixture evenly in a baking dish. Sprinkle the topping over the apples, ensuring even coverage.
- Baking: Bake in a preheated oven at 350°F (175°C) until the topping is golden brown and the apples are tender, about 45-50 minutes.
Science-Backed Tips for Optimal Crisp Texture
The texture of the topping is a crucial component of apple crisp. Here are some science-backed tips to achieve the perfect crunch:
- Cold Butter: Keeping the butter cold prevents it from melting too quickly, allowing the topping to form a crumbly texture.
- Even Distribution: Ensure the topping is evenly spread over the apples to avoid soggy spots.
- Oats Selection: Use old-fashioned rolled oats for a heartier texture compared to quick oats.
Variations on the Classic Apple Crisp Recipe
While the traditional apple crisp is a favorite, experimenting with variations can introduce exciting new flavors and textures to your dessert repertoire.
Gluten-Free Apple Crisp
Substitute the all-purpose flour with almond flour or a gluten-free flour blend, and ensure oats are certified gluten-free. This version maintains the classic taste while accommodating dietary restrictions.
Nutty Apple Crisp
Add chopped pecans or walnuts to the topping for an extra layer of flavor and crunch. Nuts complement the sweetness of apples and add nutritional benefits.
Spiced Apple Crisp
Enhance the spice profile by incorporating ginger, allspice, or cardamom into the apple mixture. These spices add warmth and depth, perfect for autumn baking.
Oat Topping: A Crunchy Delight
The oat topping is what sets apple crisp apart from other apple desserts. Here’s how to perfect it:
- Butter Incorporation: Ensure the butter is well incorporated into the flour and oats for a cohesive topping.
- Texture Balance: Aim for a balance between crumbly and clumpy. Too fine, and the topping will lack texture; too clumpy, and it won’t spread evenly.
How to Make Apple Crisp Ahead of Time
Apple crisp can be prepared in advance, making it a convenient option for gatherings.
- Prep and Freeze: Assemble the crisp as directed, cover tightly, and freeze before baking. When ready to serve, bake directly from frozen, adding an extra 10-15 minutes to the baking time.
- Pre-Bake Option: Bake the crisp, let it cool completely, and store it in the refrigerator. Reheat in the oven at 350°F (175°C) until warmed through.
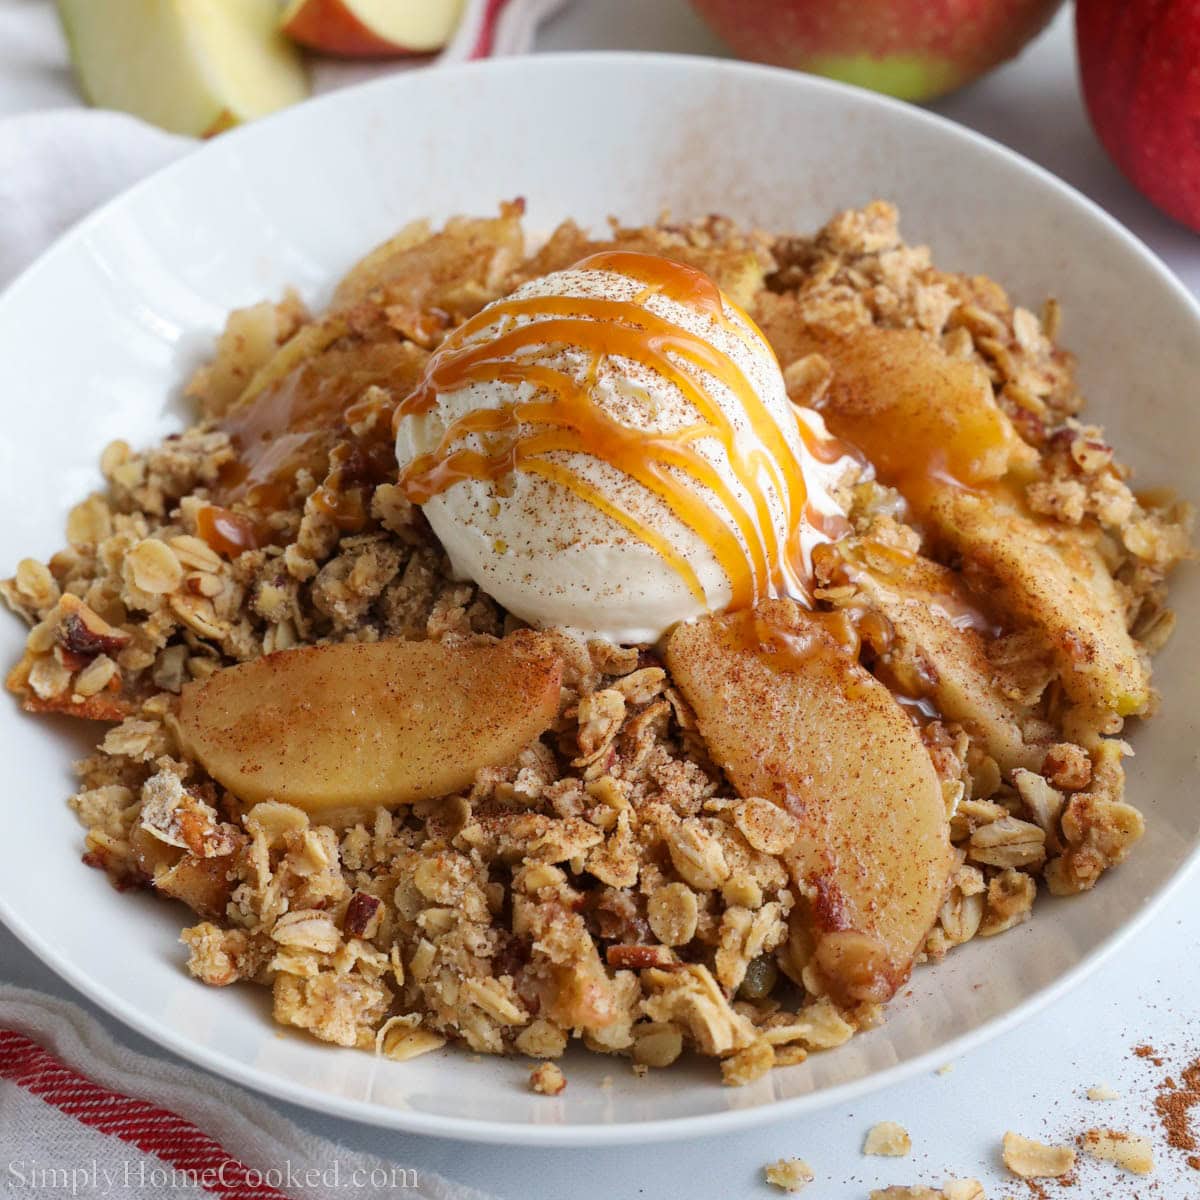
Serving Suggestions: Pairing with Ice Cream
While apple crisp is delightful on its own, pairing it with ice cream elevates the experience. Consider these combinations:
- Classic Vanilla: The smooth, creamy texture of vanilla ice cream complements the warm, spiced apples.
- Cinnamon Ice Cream: Enhance the spice profile by pairing with cinnamon-flavored ice cream.
- Caramel Swirl: Add a touch of indulgence with caramel swirl ice cream, which pairs beautifully with apple crisp.
Common Mistakes & Fixes in Apple Crisp Baking
Even the best bakers encounter challenges. Here are solutions to common apple crisp issues:
- Soggy Topping: Ensure the topping is spread evenly and use cold butter to maintain its structure.
- Underbaked Apples: Slice apples uniformly and ensure they are fully cooked by checking with a fork.
- Overly Sweet Crisp: Adjust sugar levels based on the sweetness of the apples used.
Storage and Freezing Tips for Leftover Apple Crisp
Proper storage can extend the enjoyment of your apple crisp:
- Refrigeration: Store leftovers in an airtight container in the refrigerator for up to 5 days.
- Freezing: Freeze individual portions in airtight containers. Reheat in the oven to restore crispness.
Alternative Sweeteners: Brown Sugar vs. White Sugar
The choice of sweetener can alter the flavor and texture of your apple crisp. Here’s what to consider:
- Brown Sugar: Adds moisture and a deeper, caramel-like flavor due to its molasses content.
- White Sugar: Provides a cleaner, sweeter taste and can be used in combination with brown sugar for balance.
- Honey or Maple Syrup: For a natural alternative, substitute some or all of the sugar with honey or maple syrup.
Equipment You Need for the Best Apple Crisp
Having the right equipment ensures a smooth baking process:
- Baking Dish: A 9×13-inch baking dish is ideal for even cooking.
- Pastry Cutter: Useful for cutting butter into the topping mixture.
- Apple Peeler/Corer/Slicer: Speeds up apple preparation and ensures uniform slices.
Reheating Your Apple Crisp for Maximum Enjoyment
To enjoy leftover apple crisp at its best, proper reheating is key:
- Oven Method: Reheat in a preheated oven at 350°F (175°C) for about 15-20 minutes to restore the topping’s crunch.
- Microwave Method: For a quicker option, microwave individual portions for 1-2 minutes, though the topping may be softer.