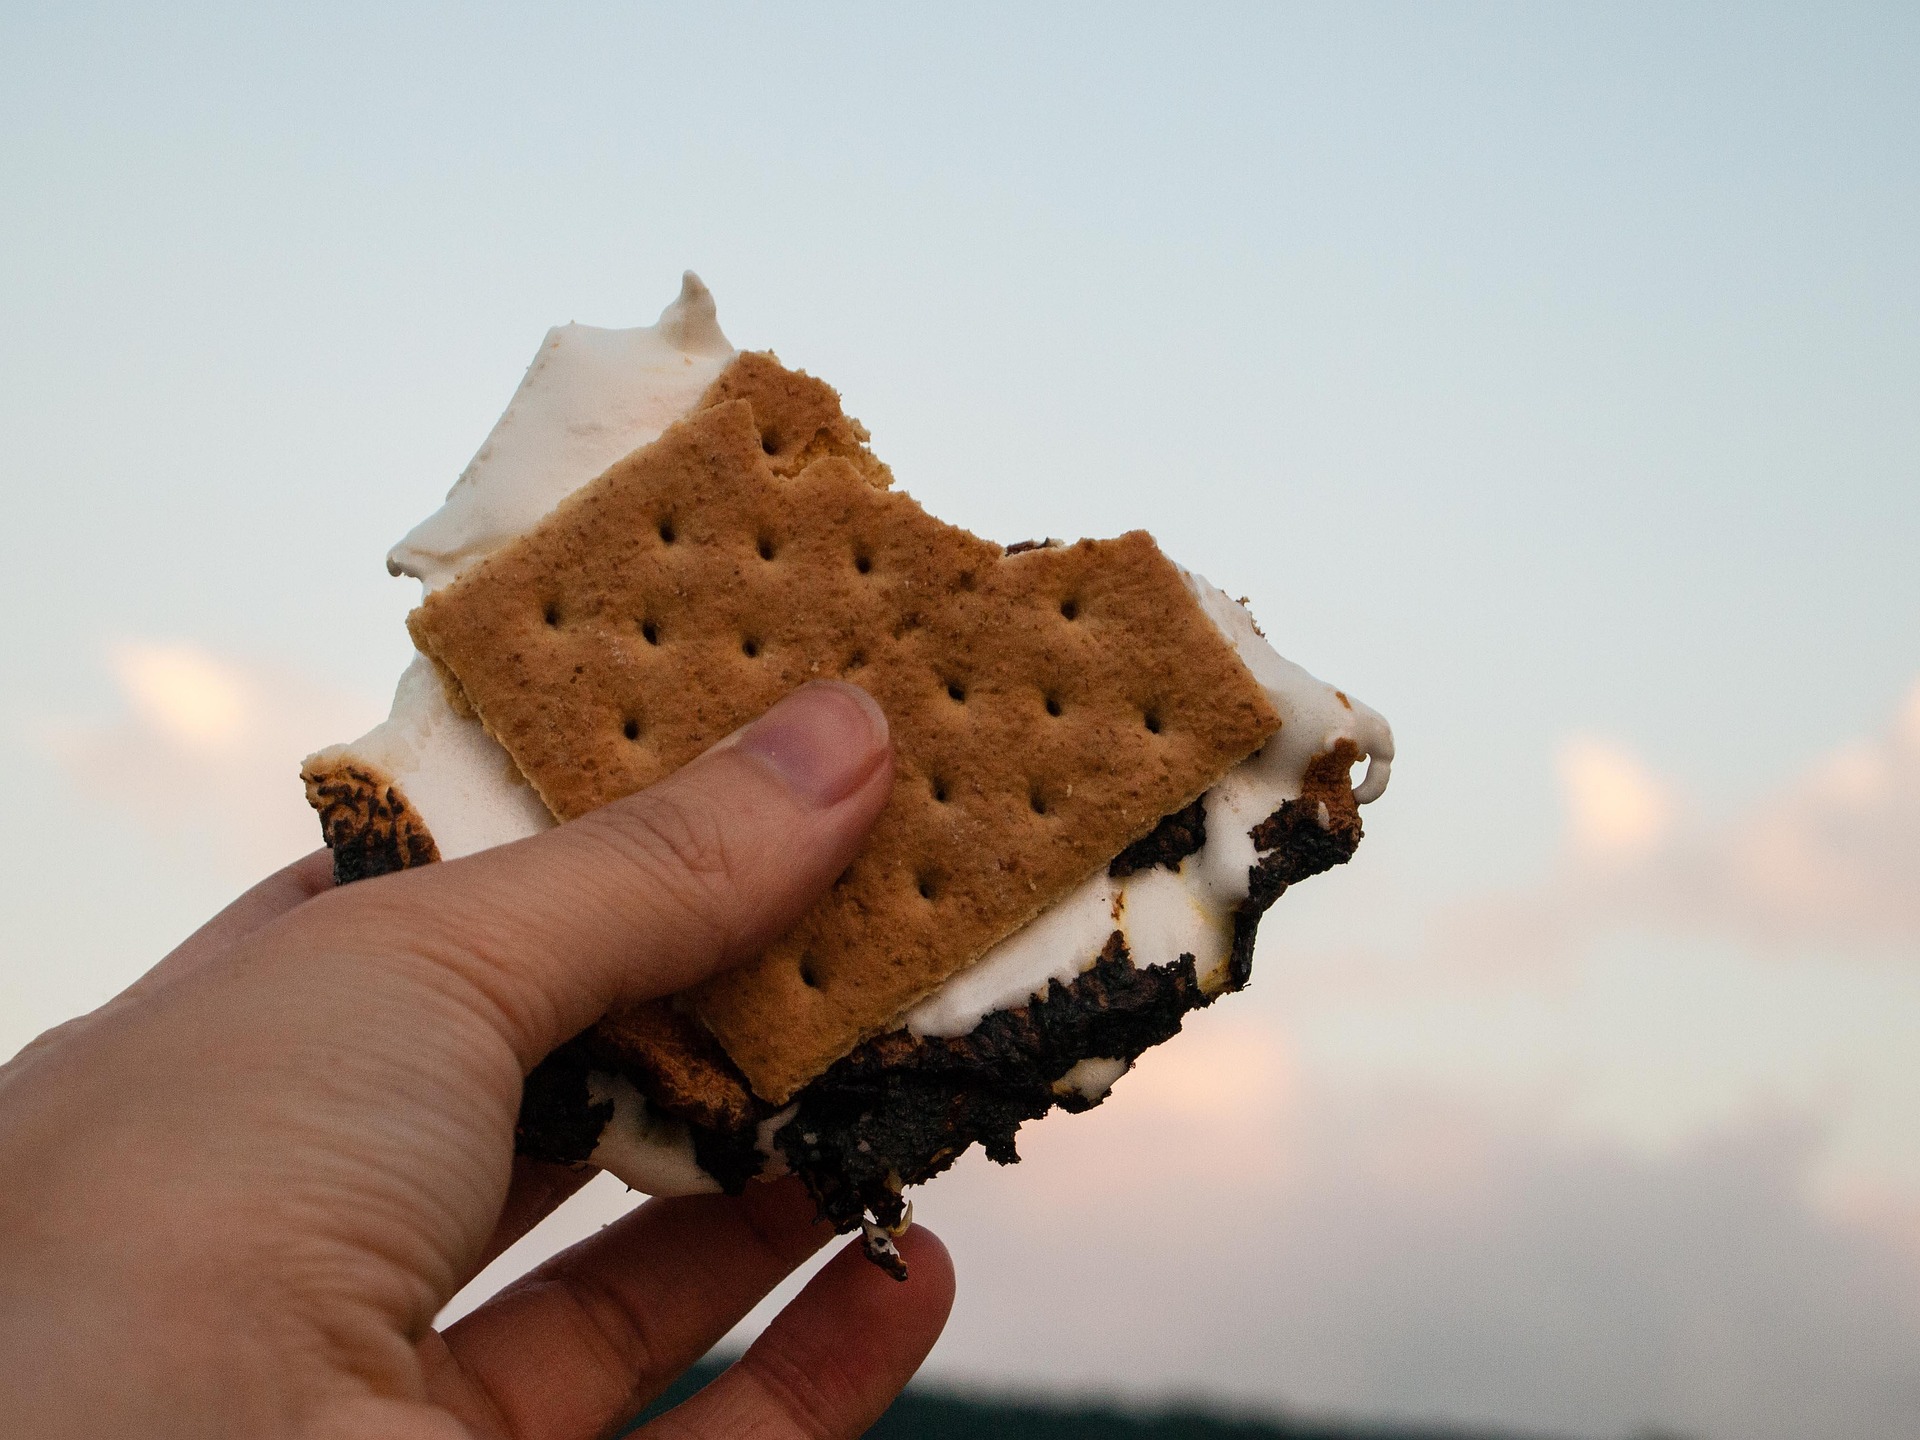
Few things are more satisfying in the kitchen than creating a delicious dessert from scratch, and a graham cracker crust is the perfect foundation for countless sweet creations. Whether you’re crafting a creamy cheesecake or a refreshing pie, understanding how to make a graham cracker crust can elevate your baking game. Moreover, with a few budget-friendly swaps and pantry shortcuts, this crust can be both cost-effective and delightful. In this guide, we’ll explore everything from essential ingredients to creative variations, ensuring you have all the tools you need for a perfect graham cracker crust.
Essential Ingredients for a Perfect Graham Cracker Crust
The classic graham cracker crust is beloved for its simplicity and versatility. Here’s what you’ll need to get started:
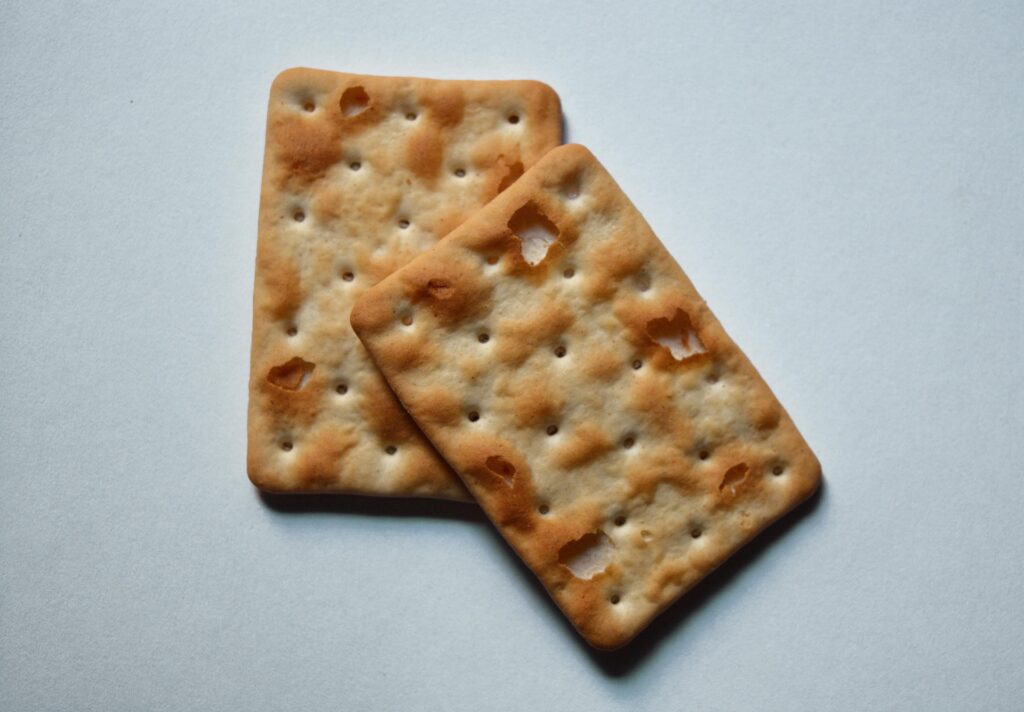
Graham Crackers: The foundation of the crust, providing that signature flavor and texture.
Butter: Melted butter binds the crumbs together and adds richness.
Sugar: A touch of granulated sugar enhances sweetness and helps the crust hold its shape.
Salt: A pinch of salt balances the sweetness and enhances flavor.
These ingredients form the base of the crust, but variations and substitutions can be made to suit dietary needs or to use what’s available in your pantry.
Budget-Friendly Substitutes for Graham Crackers
If graham crackers are not readily available or if you’re looking to save a little money, there are several alternatives you can use:
Digestive Biscuits: These are a popular substitute, offering a similar texture and flavor profile.
Vanilla Wafers: These add a slightly different flavor but work well in a pinch.
Animal Crackers: A fun and budget-friendly option, especially if you have kids.
Oatmeal Cookies: For a heartier crust, oatmeal cookies can add a unique twist.
Each of these substitutes can be crushed and used in the same way as graham crackers, maintaining the integrity of the crust while offering a new flavor dimension.
How to Make a Homemade Graham Cracker Crust
Creating a graham cracker crust from scratch is straightforward and rewarding. Follow these steps for a foolproof crust every time:
Step-by-Step Method for the Best Cracker Crust
Crush the Crackers: Place graham crackers in a resealable plastic bag and crush them with a rolling pin until fine crumbs form. Alternatively, use a food processor for quicker results.
Mix Ingredients: In a bowl, combine the graham cracker crumbs, sugar, and salt. Stir in the melted butter until the mixture resembles wet sand.
Press into Pan: Pour the crumb mixture into a pie pan or springform pan. Use the back of a measuring cup to press the crumbs firmly into the bottom and up the sides of the pan.
Bake (if required): For a firmer crust, bake at 350°F (175°C) for about 10 minutes. Allow to cool before adding your filling.
This method provides a dependable base for any dessert, whether you’re opting for a no-bake treat or a classic baked pie.
Variations on Classic Graham Cracker Crust Recipes
While the traditional graham cracker crust is a staple, experimenting with variations can add a personal touch to your desserts. Here are some ideas:
Chocolate Graham Cracker Crust
Substitute chocolate graham crackers for regular ones.
Add 2 tablespoons of cocoa powder for an extra chocolatey flavor.
Nutty Graham Cracker Crust
Incorporate 1/2 cup of finely chopped nuts (such as almonds or pecans) for added texture and flavor.
Reduce the graham cracker crumbs by half a cup to accommodate the nuts.
Spiced Graham Cracker Crust
Add 1 teaspoon of cinnamon or pumpkin pie spice to the crumb mixture.
This variation pairs well with fall-themed desserts or spiced fillings.
Coconut Graham Cracker Crust
Mix in 1/2 cup of shredded coconut for a tropical twist.
This variation complements coconut cream pies or citrus-based fillings beautifully.
These variations not only enhance the flavor of your crust but also allow you to tailor it to complement specific fillings.
Using a Food Processor for Quick Cracker Crumbs
A food processor can be a valuable tool in creating the perfect graham cracker crust. Here’s how to utilize it effectively:
Quick and Even Crumbs: Pulse graham crackers in the food processor until they form fine, even crumbs. This method is faster and ensures a consistent texture.
Mix Ingredients Efficiently: Add sugar, salt, and melted butter directly into the food processor. Pulse until the mixture is well combined.
Less Cleanup: By using the food processor, you minimize the number of bowls and utensils needed, making for a quicker cleanup process.
Utilizing a food processor not only saves time but also ensures a perfectly blended crust mixture.
No-Bake Graham Cracker Crust for Cream Pies
A no-bake graham cracker crust is ideal for cream pies and chilled desserts. Here’s how to make it:
Prepare the crust mixture as previously described, ensuring it’s well-combined.
Firmly press the mixture into a pie pan, ensuring an even layer across the bottom and sides.
Chill the crust in the refrigerator for at least one hour before adding the filling.
This method allows the butter to solidify, helping the crust hold its shape without the need for baking.
How to Store and Freeze Your Cracker Crust
Proper storage is key to maintaining the freshness and quality of your graham cracker crust. Follow these guidelines:
Refrigerating: Cover the crust with plastic wrap or foil and store in the refrigerator for up to three days.
Freezing: To freeze, wrap the crust tightly in plastic wrap, then in aluminum foil. Store in the freezer for up to three months.
Thawing: When ready to use, thaw the crust in the refrigerator overnight.
These storage tips ensure your crust remains fresh and ready for your next baking adventure.
Common Mistakes & Fixes in Making Graham Cracker Crust
Even seasoned bakers can encounter issues when making a graham cracker crust. Here are some common mistakes and how to fix them:
Crust Falls Apart: If the crust is crumbly, it may need more butter. Ensure the mixture is moist enough to hold together when pressed.
Crust is Too Hard: This can occur if the crust is overbaked. Reduce baking time or opt for a no-bake method.
Soggy Crust: To prevent sogginess, ensure the crust is well-chilled before adding a wet filling. Consider brushing with a thin layer of melted chocolate for a moisture barrier.
By being aware of these pitfalls and their solutions, you can achieve a perfect crust every time.
Creative Uses for Leftover Graham Cracker Crust
Leftover graham cracker crust can be creatively repurposed in a variety of ways:
Crumb Topping: Use the crumbs as a topping for yogurt or ice cream.
Energy Bites: Mix with peanut butter and honey to form no-bake energy bites.
Pie Bars: Press into a baking dish and add a layer of chocolate or fruit filling for easy pie bars.
These ideas ensure that no crumb goes to waste, adding a delicious touch to other treats.
Pairing Your Crust with Different Fillings
A graham cracker crust pairs well with a wide range of fillings. Here are some popular pairings:
Cheesecake: The classic choice, offering a rich and creamy contrast to the crunchy crust.
Lemon Meringue: The tartness of lemon complements the sweetness of the crust beautifully.
Chocolate Cream: A decadent option that satisfies any chocolate craving.
Key Lime: The zesty lime flavor provides a refreshing balance to the crust’s sweetness.
These pairings highlight the versatility of a graham cracker crust, making it a staple for any dessert enthusiast.
Tips for Achieving the Perfect Texture in Your Crust
The texture of your graham cracker crust can make or break your dessert. Here are some tips to ensure perfection:
Even Thickness: Use a flat-bottomed cup to press the crust evenly across the pan.
Proper Binding: Ensure the mixture is moist enough to hold together by squeezing it in your hand; it should retain its shape.
Chill Thoroughly: Before adding the filling, chill the crust to help it set and maintain its shape.
By focusing on these details, you can achieve a crust with the perfect balance of crunch and stability.