Creating the perfect pie crust is a rite of passage for any home baker. Whether you’re preparing a classic apple pie for a family gathering or crafting a savory quiche for brunch, mastering the art of pie crust can elevate your baking game. With the right techniques and a little practice, you can achieve a flaky, buttery crust that serves as the perfect foundation for any filling. In this guide, we’ll explore the essential techniques, ingredient choices, and variations that will help you create a pie crust that is both delicious and versatile.
Essential Techniques for a Flaky Pie Crust
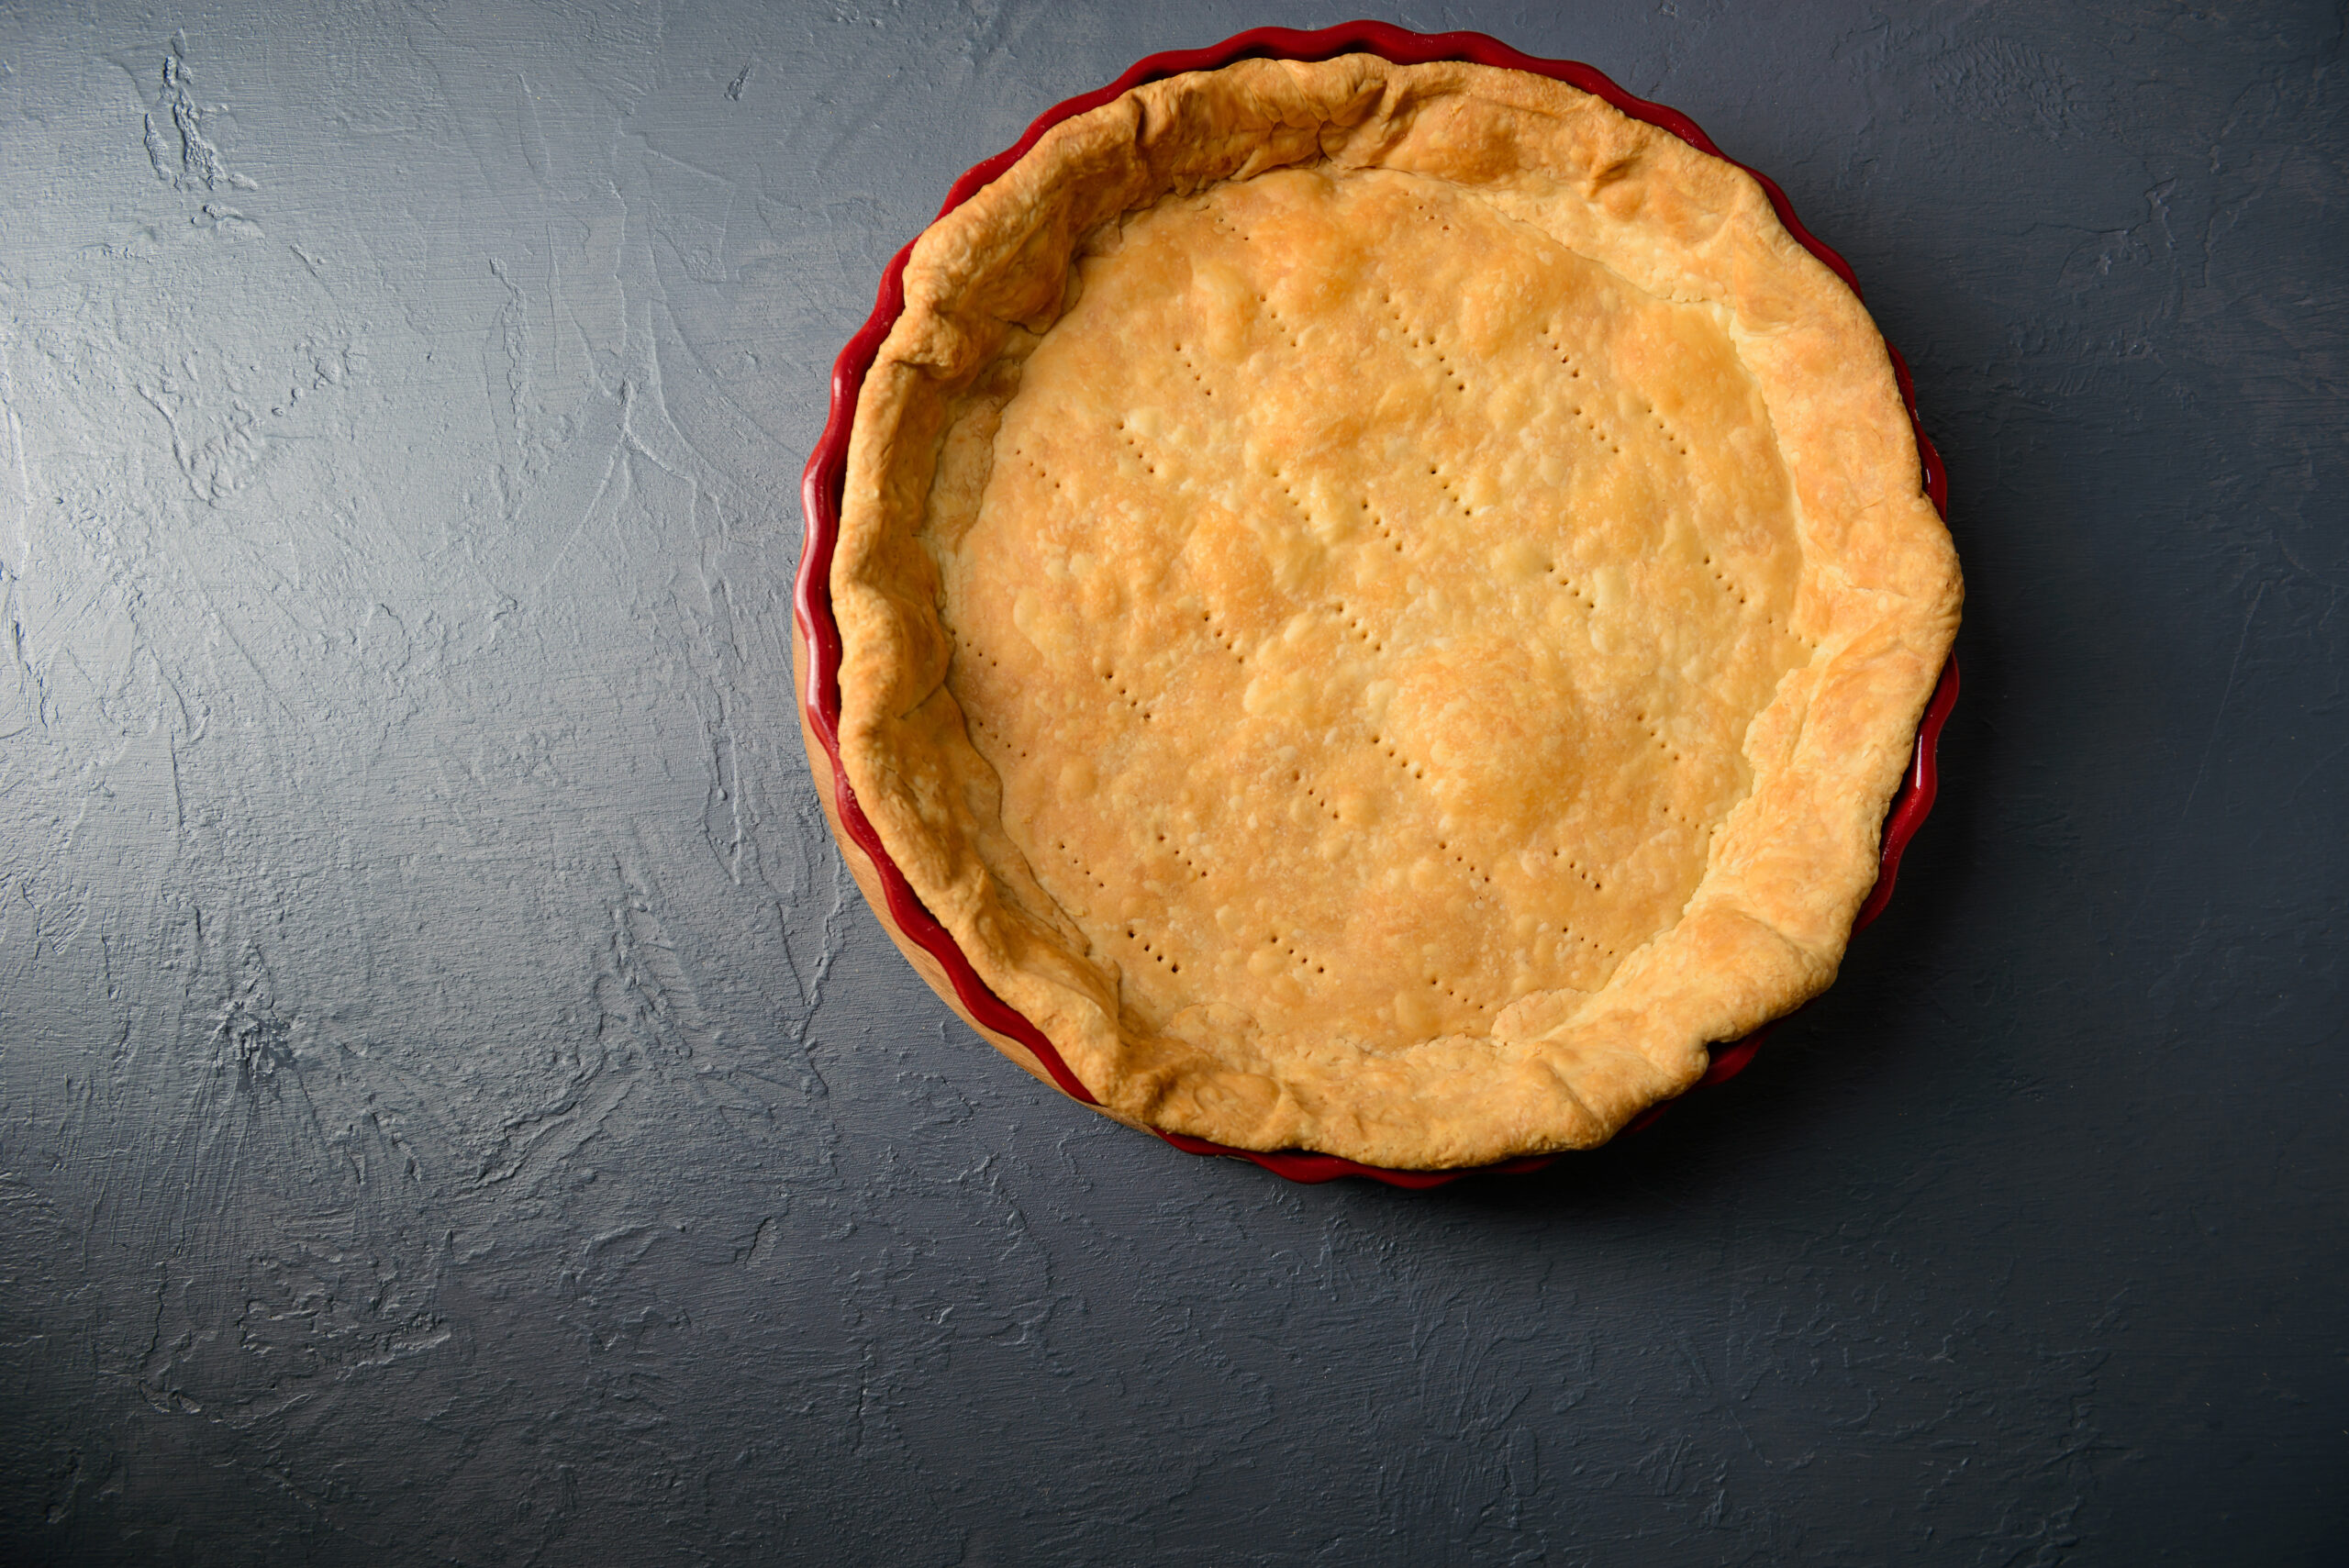
The key to a flaky pie crust lies in the technique. By keeping your ingredients cold and handling the dough as little as possible, you can create layers of fat and flour that bake into a tender, flaky texture.
Ingredients List
2 1/2 cups all-purpose flour
1 teaspoon salt
1 tablespoon sugar (optional, for sweet pies)
1 cup unsalted butter, chilled and diced
6 to 8 tablespoons ice water
Step-by-Step Method
In a large bowl, combine the flour, salt, and sugar.
Add the diced butter, using a pastry cutter or your fingers to blend until the mixture resembles coarse crumbs.
Gradually add ice water, one tablespoon at a time, mixing with a fork until the dough begins to hold together.
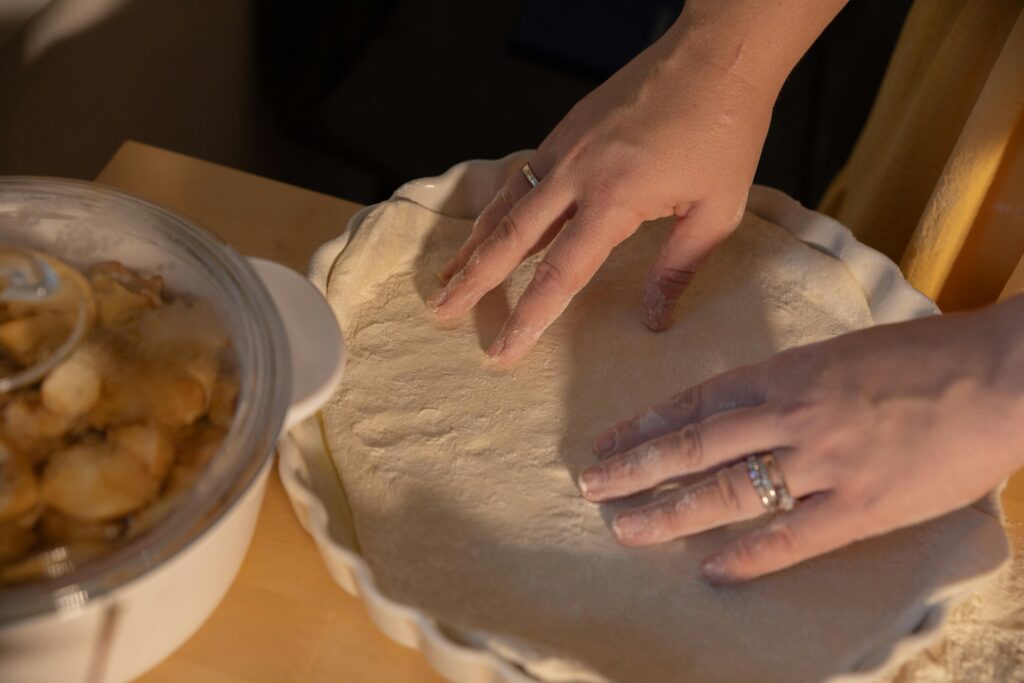
Divide the dough in half, shape each half into a disc, wrap in plastic, and refrigerate for at least one hour.
Choosing the Right Ingredients: Butter vs. Shortening
When it comes to pie crust, the choice between butter and shortening can impact the flavor and texture of the final product. Butter provides a rich, flavorful crust, while shortening offers a more tender and flaky result.
Butter
Rich flavor
Creates a flaky texture
May require more precise handling due to lower melting point
Shortening
Produces a tender, flaky crust
Higher melting point makes it easier to handle
Lacks the depth of flavor found in butter
For a balanced approach, some bakers use a combination of butter and shortening, achieving both the flavor of butter and the flakiness of shortening.
How to Make Pie Dough in a Food Processor
Using a food processor can simplify the pie dough-making process, allowing you to quickly blend the ingredients while keeping them cold. This method is ideal for those who prefer a hands-off approach.
Place flour, salt, and sugar in the food processor and pulse to combine.
Add the chilled butter and pulse until the mixture resembles coarse crumbs.
Slowly add ice water, pulsing until the dough just begins to form a ball.
Turn the dough onto a floured surface, divide, and shape into discs as described above.
Rolling Out Your Pie Crust: Tips and Tricks
Rolling out pie dough can be a daunting task, but with these tips, you’ll achieve a perfectly even crust every time.
Lightly flour your work surface and rolling pin to prevent sticking.
Roll the dough from the center outward, rotating it frequently to maintain an even thickness.
If the dough becomes too warm, return it to the refrigerator for a few minutes before continuing.
Use a bench scraper to lift and turn the dough as needed, ensuring it doesn’t stick to the surface.
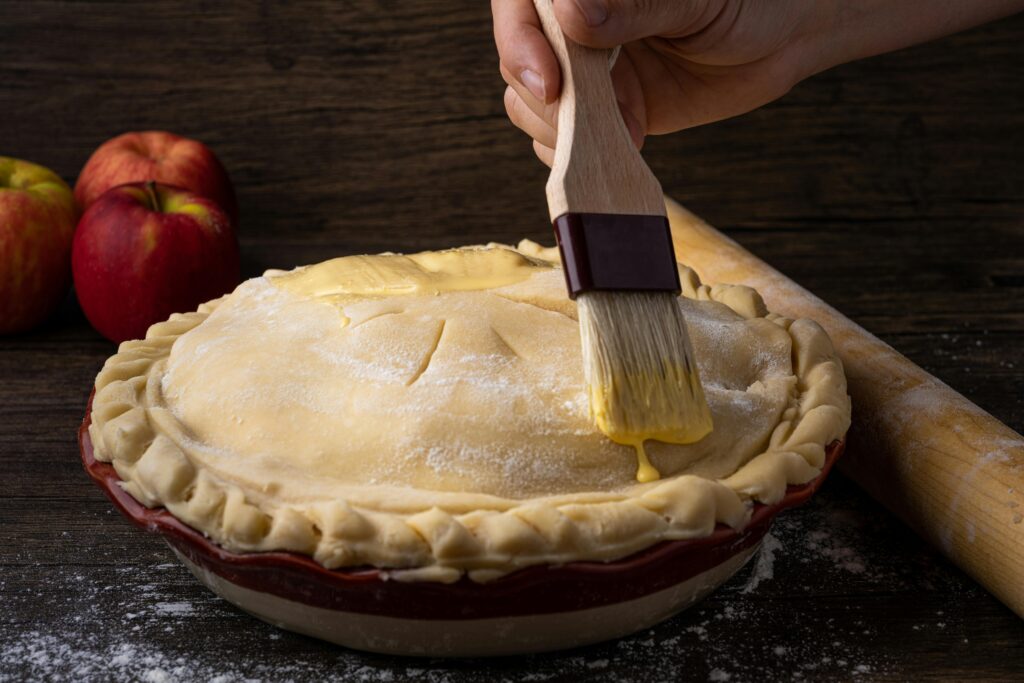
Perfecting the Crust: The Role of Ice Water
Ice water is crucial in pie crust recipes, as it helps keep the dough cold and prevents the butter from melting during mixing. This results in a flakier crust with distinct layers.
When adding ice water, do so gradually. The exact amount needed can vary based on humidity and flour type, so add just enough for the dough to hold together without becoming sticky.
Variations on Classic Pie Crust: Gluten-Free Options
For those with dietary restrictions, a gluten-free pie crust can still be flaky and delicious. By using alternative flours and a few tweaks, you can create a crust that everyone will enjoy.
Ingredients List for Gluten-Free Pie Crust
2 cups gluten-free all-purpose flour blend
1 teaspoon xanthan gum (if not included in flour blend)
1 teaspoon salt
1 tablespoon sugar (optional)
1 cup unsalted butter, chilled and diced
6 to 8 tablespoons ice water
Method
Follow the same steps as the traditional pie crust, substituting the gluten-free flour blend for all-purpose flour.
Chill the dough as instructed, then roll out carefully as gluten-free doughs can be more delicate.
Serving Suggestions: What to Pair with Your Pie
Your homemade pie crust deserves a filling that complements its flavor and texture. Here are some classic and creative pairings:
Classic apple pie with a scoop of vanilla ice cream
Pumpkin pie with a dollop of whipped cream
Berry pie with a drizzle of chocolate sauce
Quiche Lorraine with a side salad for a savory option
Occasions for Pie: When to Serve Your Homemade Crust
Pies are versatile desserts and can be served at a variety of occasions, from casual family dinners to festive holiday gatherings. Consider these events:
Thanksgiving, with classic pumpkin or pecan pie
Summer picnics, featuring fresh fruit pies like peach or cherry
Brunches, with savory pies such as quiche or tomato tart
Birthday celebrations, offering a unique alternative to cake
Common Mistakes & Fixes for Pie Crust Failures
Even experienced bakers can encounter issues with pie crust. Here are some common problems and how to fix them:
Crust is tough: Avoid overworking the dough. Handle it just enough to bring it together.
Crust shrinks: Allow the dough to rest in the refrigerator before rolling out and again after placing in the pie pan.
Soggy bottom: Use a metal pie pan and preheat it to help set the crust quickly.
Crust is too crumbly: Ensure you have added enough water to hold the dough together.
Storage Tips: How to Keep Your Pie Crust Fresh
Proper storage ensures your pie crust remains fresh until you’re ready to bake. Here are some tips:
Wrap unbaked dough tightly in plastic wrap and store in the refrigerator for up to three days.
If storing a baked crust, keep it at room temperature, covered, for up to two days.
For longer storage, consider freezing the dough or baked crust.
Freezing Your Pie Dough: A Step-by-Step Guide
Freezing pie dough is a convenient way to have it ready for future use. Follow these steps for best results:
Prepare the dough and shape it into discs as instructed.
Wrap each disc in plastic wrap, then place in a freezer bag.
Label the bag with the date and contents, and freeze for up to three months.
Thaw in the refrigerator overnight before rolling out.
Creative Pie Filling Ideas for Every Season
Experimenting with different fillings can bring new life to your pie crust. Here are some seasonal suggestions:
Spring: Rhubarb and strawberry
Summer: Blueberry and lemon
Fall: Apple and caramel
Winter: Chocolate and peppermint
Using Leftover Pie Crust: Delicious Recipes
Don’t let leftover pie crust go to waste. Here are some ideas to make the most of it:
Cut into strips, sprinkle with cinnamon sugar, and bake for a quick snack.
Armed with a fork and endless curiosity, Alec Davison explores how food connects people, places, and memories. His articles mix humor, heart, and a pinch of chaos — just like a great meal should.