

- LIFE
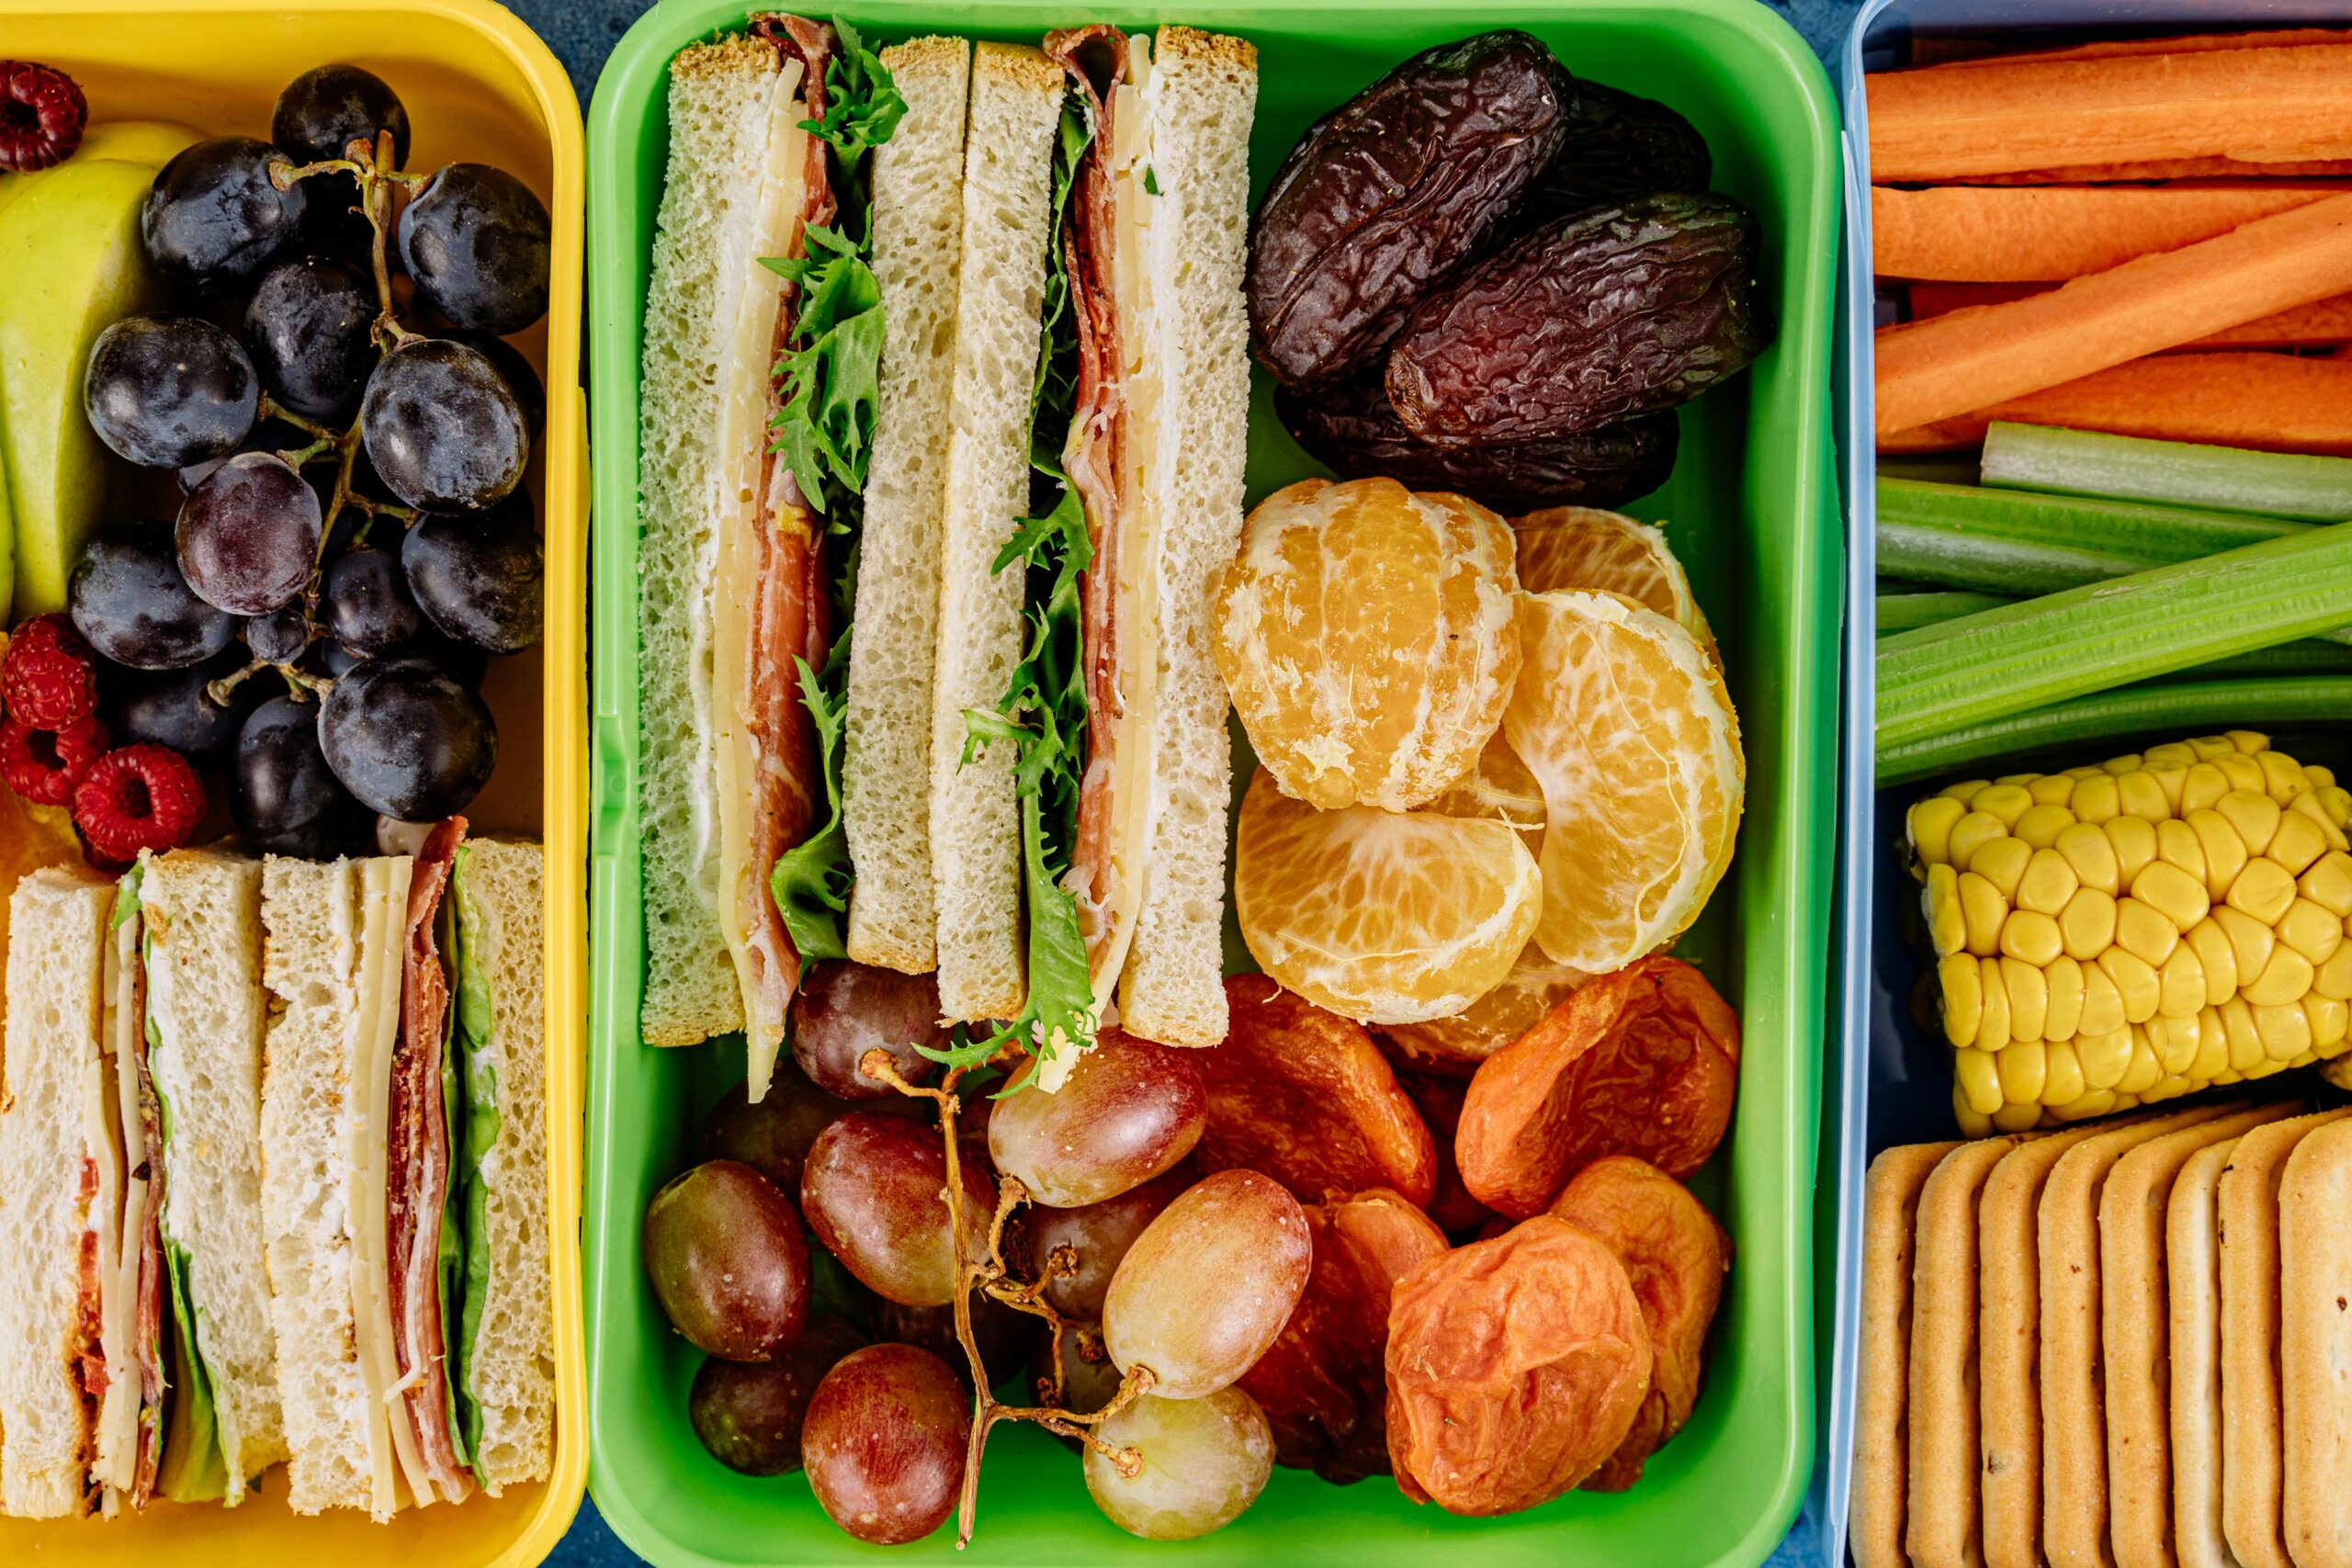
Creative Toddler Lunch Ideas You’ll Love
There’s nothing quite like the smell of freshly baked bread coming out of the oven, and these crescent rolls are one of my favorites to make. They’re soft, light, and fluffy with that melt-in-your-mouth buttery flavor that makes them absolutely irresistible. On the dinner table, they look stunning too, with their golden shine and classic crescent shape that always impresses.
The best part is how simple they are. You don’t need any complicated steps or endless waiting—just seven basic ingredients that you probably already have in your kitchen. And unlike many bread recipes, this one skips the double proofing, which means you can have a batch of homemade crescent rolls ready in under two hours.
They’re perfect for any occasion—whether you’re serving them as a side with dinner, adding them to a holiday spread, or just enjoying one warm with a little butter. Once you try them, I promise you’ll find yourself making these rolls again and again.
We start with the dough. Into a bowl, I add slightly warm milk—not cold, not hot—followed by sugar, salt, yeast, one egg, and soft butter. Because the butter is soft, it blends in easily. Stir everything together, then add flour. You can use either all-purpose or bread flour. I’m using all-purpose flour here.
Mix until it comes together into a shaggy mass. Make sure there are no dry patches left. Transfer the dough to a clean work surface. Now it’s time to knead. You can knead by hand or use a stand mixer. The dough isn’t very sticky, so it’s easy to handle. Sometimes, depending on your flour, egg size, or if you measured by cups, the consistency might differ. That’s okay. If the dough feels dry, add 1–2 tablespoons of water. If it’s sticky, add a little flour.
After kneading 3–4 minutes, my dough still looked like it needed more hydration, so I added just half a tablespoon of water and continued kneading. Soon, the gluten strands became stretchy, the dough got sticky for a moment, and then smoothed out beautifully. After 8–10 minutes of kneading, the dough was soft, elastic, and smooth.
Cover the dough and let it rest for 5–6 minutes—not for proofing, but just to relax the gluten. This makes rolling easier and keeps it from springing back.
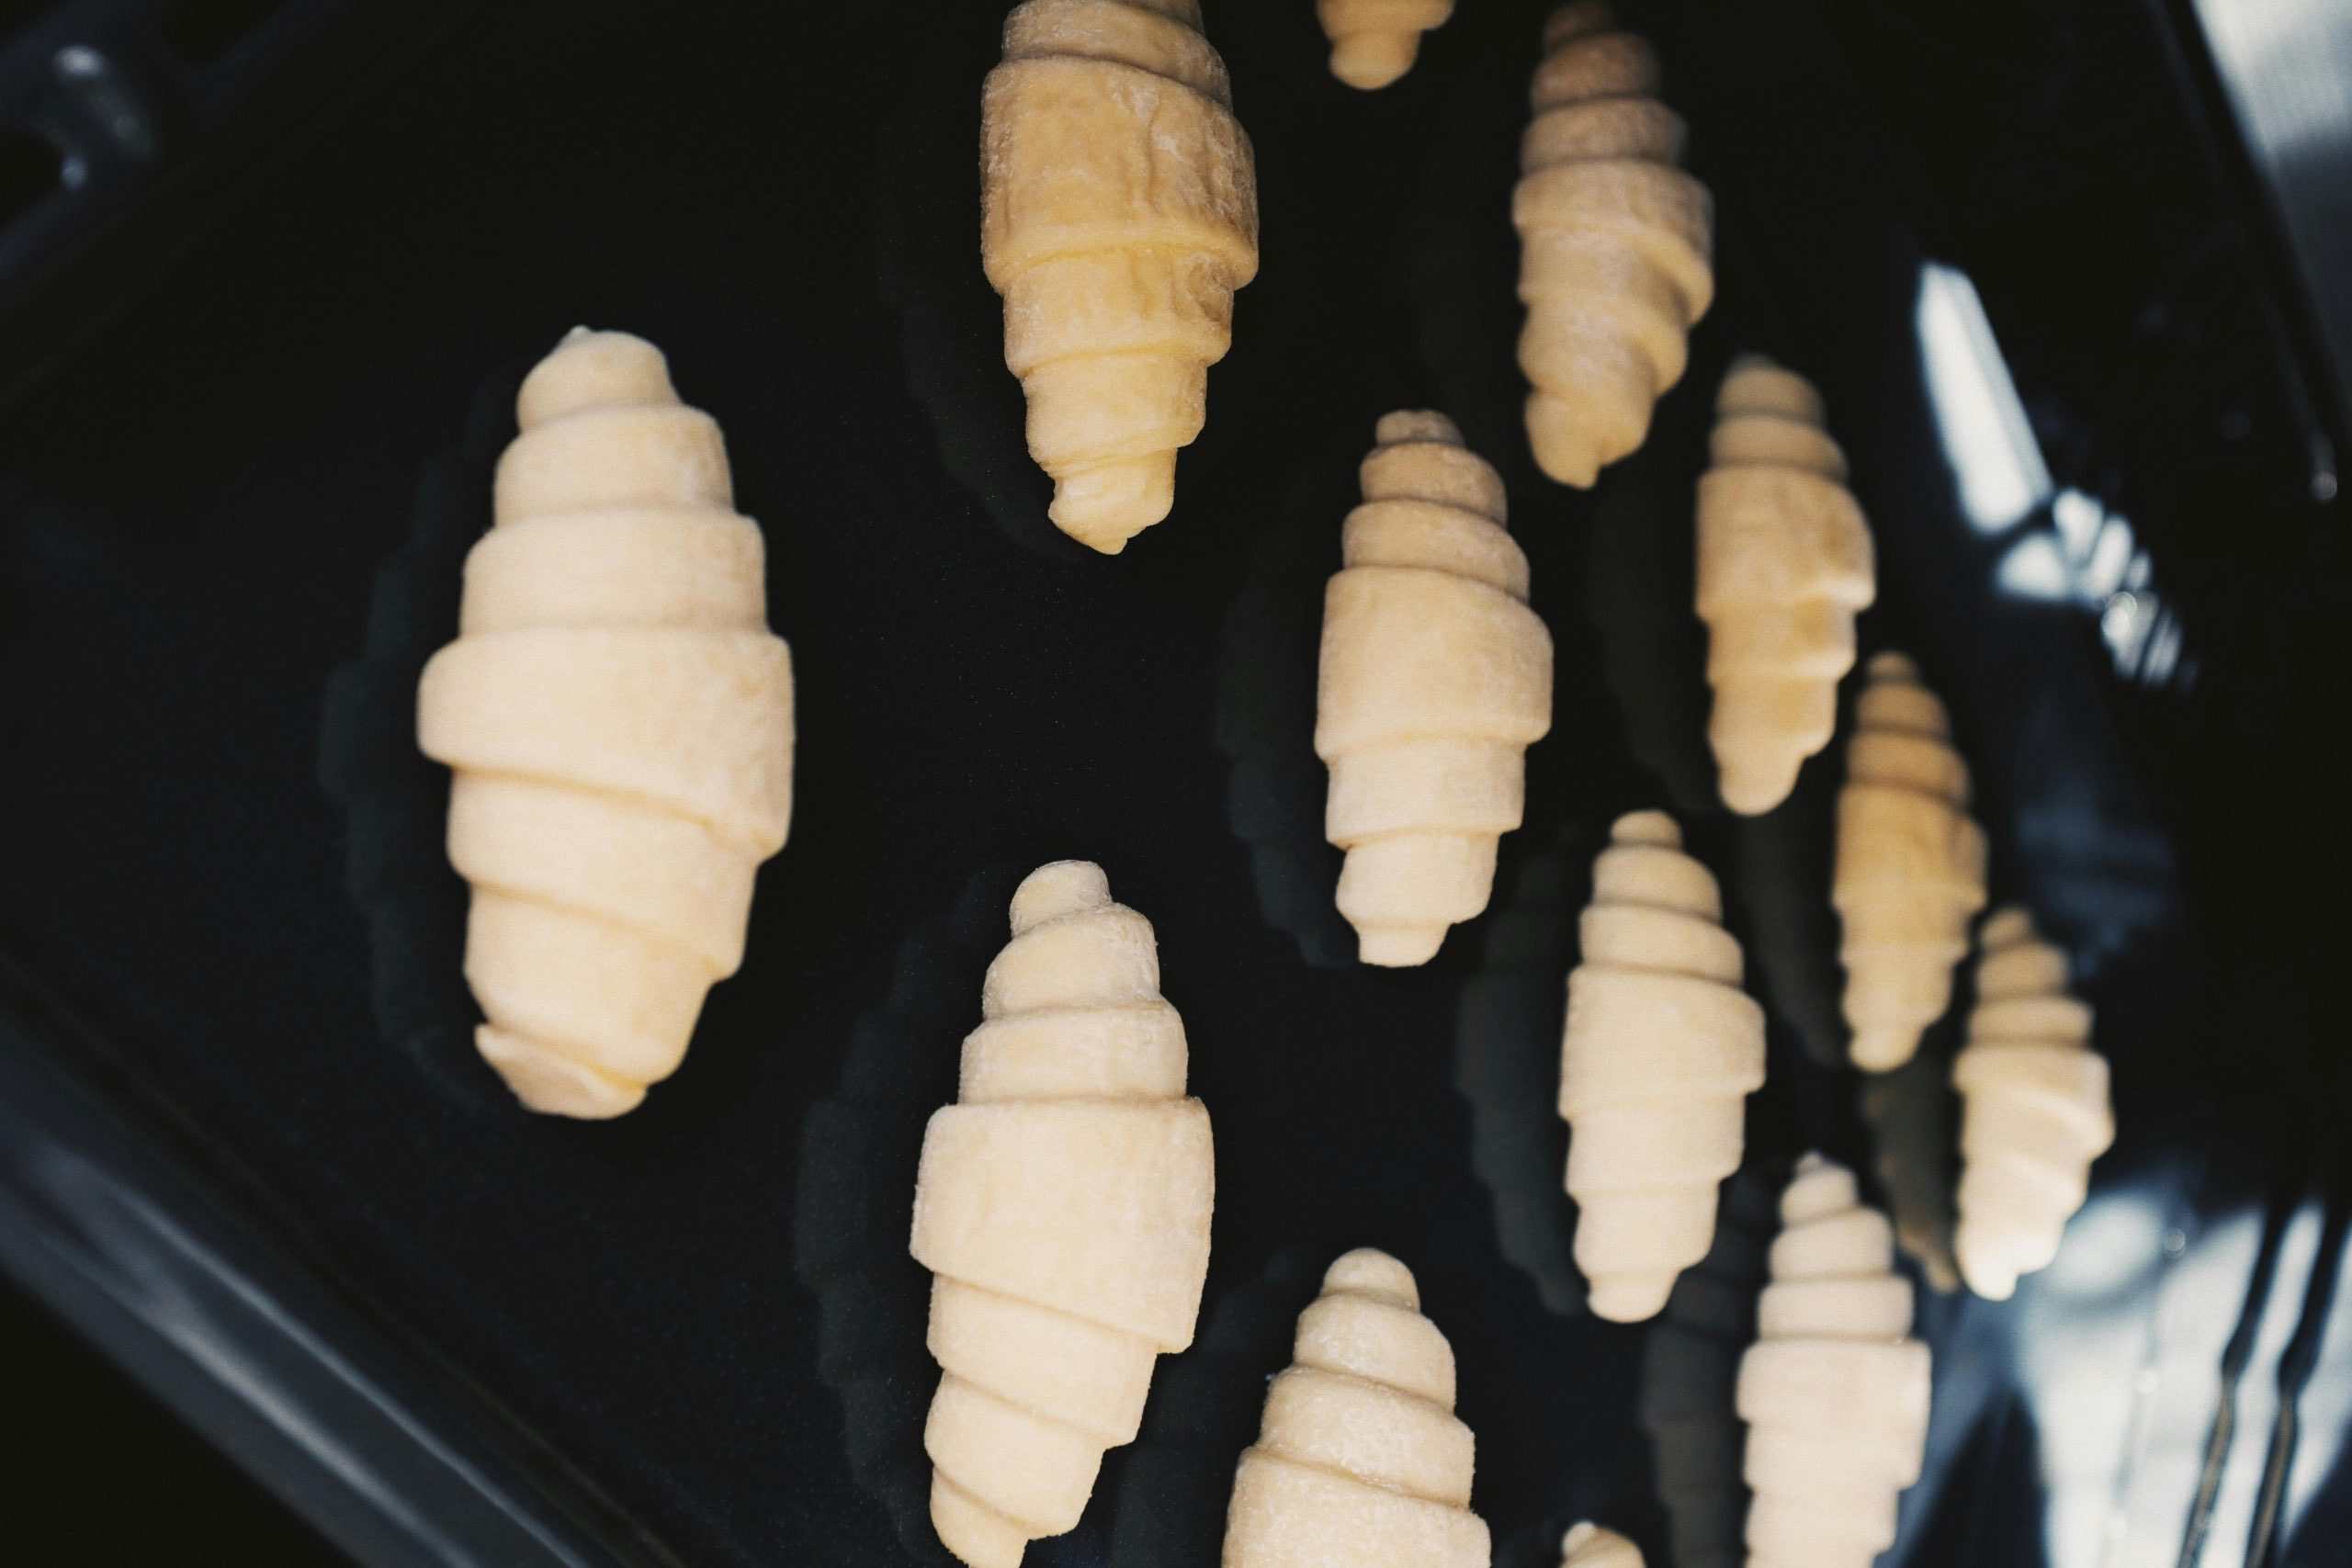
Next, dust the surface with a little flour and roll the dough into a circle about 14 inches in diameter, 5–6 mm thick. Cut it into 12 equal wedges. Take each piece, flip it top side down so it looks prettier when baked, and roll it from the wide end toward the tip to form crescent shapes. Place them on a parchment-lined baking tray.
Cover with cling film and let them proof in a warm spot for about 1 hour. Once they’ve risen nicely, brush with a beaten egg. This gives them that gorgeous golden shine when baked.
Bake in a preheated oven at 350°F (180°C) for 20–22 minutes, until golden brown. When they come out, the smell is amazing! For extra buttery flavor and a softer crust, I like to brush the hot rolls with melted butter.
I hope you’ll try this recipe at home. I’m sure your whole family will love them. If you do, share them with friends who love homemade bread. Thank you so much for your support, and happy baking!